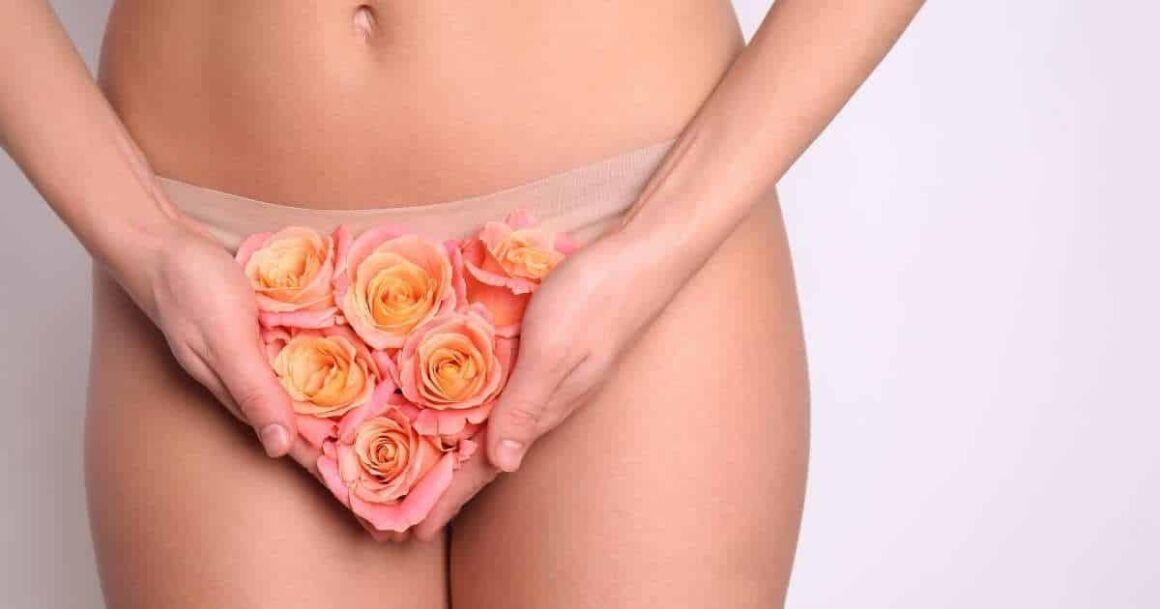
DIY Vajacial Treatment In Just 8 Easy Steps
Taking care of intimate areas is just as important as any other part of your body. A vajacial sometimes called a vaginal facial, is a professional spa treatment designed to exfoliate, cleanse, and soothe the bikini area or vulva, leaving the skin soft, smooth, and healthy. Traditionally offered in spas, this treatment has gained popularity as a self-care ritual you can do at home.
Doing a vajacial at home may sound intimidating, but with the right tools, ingredients, and steps, it’s completely safe, effective, and relaxing. Whether your goal is smooth skin after waxing, reducing ingrown hairs, or simply indulging in self-care, this DIY guide walks you through everything you need to know.
What is a Vajacial?
A vajacial is a targeted skincare treatment for the bikini area or vulva, designed to:
-
Exfoliate dead skin cells
-
Remove ingrown hairs and prevent razor bumps
-
Soothe irritation after hair removal
-
Brighten and hydrate the skin
-
Improve overall texture and appearance
Unlike a traditional facial, a vajacial uses gentle but effective ingredients safe for sensitive skin, including exfoliants, masks, and serums tailored for intimate areas. The goal is healthy, smooth, and glowing skin, not just temporary aesthetic results.
Why DIY Vajacials are Worth It
A professional vajacial can be costly, but doing it at home is accessible, cost-effective, and customizable. Some of the benefits of a DIY vajacial include:
-
Reduced irritation after hair removal: Waxing or shaving can leave skin red, inflamed, or itchy. A vajacial soothes and calms the area.
-
Prevention of ingrown hairs: Regular exfoliation and hydration reduce the risk of bumps and folliculitis.
-
Skin brightening: Natural masks and serums can improve pigmentation and tone.
-
Self-care: It’s a relaxing ritual that encourages mindfulness and connection with your body.
With the right tools, a calm environment, and consistent care, you can achieve professional-level results at home.
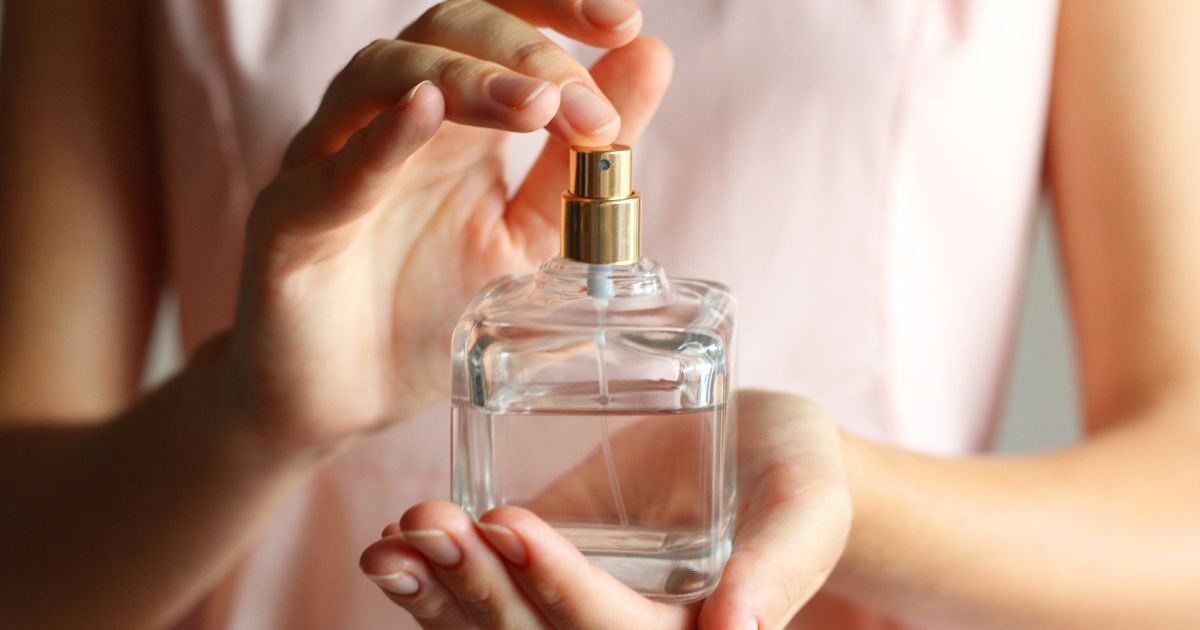
Tools and Ingredients You’ll Need
Before starting, gather everything to avoid interruptions. Here’s a basic kit:
-
Gentle cleanser: Unscented, hypoallergenic, or specifically formulated for intimate areas.
-
Exfoliant: A gentle chemical exfoliant like lactic acid or a mild physical exfoliant like sugar scrub.
-
Soothing mask or treatment: Ingredients like aloe vera, honey, or oatmeal are ideal.
-
Hydrating serum or oil: Options include vitamin E oil, coconut oil, or jojoba oil.
-
Warm water and a bowl: For cleansing and mixing masks.
-
Soft washcloth or sponge: For gentle application.
-
Optional tools: Tweezers for ingrown hairs, or a soft brush for exfoliation.
Tip: Always test new products on a small area first to ensure you don’t react negatively.
Step 1: Cleanse Thoroughly
The first step in a vajacial is cleansing to remove sweat, oil, and bacteria. A clean surface ensures the treatment works effectively.
How to cleanse:
-
Use warm water and a gentle, unscented cleanser.
-
Apply with your fingers, gently massaging the skin around the bikini line or vulva.
-
Rinse thoroughly with lukewarm water.
-
Pat dry with a soft towel avoid rubbing, which can irritate sensitive skin.
Why it matters: Proper cleansing removes debris and bacteria, which helps prevent infection, irritation, and ingrown hairs.
Step 2: Steam the Area (Optional but Recommended)
Steaming softens the skin, opens pores, and prepares the area for exfoliation.
How to steam:
-
Fill a large bowl with hot water and place it on a stable surface.
-
Sit comfortably with the bikini area above the steam, keeping a safe distance to avoid burns.
-
Steam for 5–10 minutes.
Alternative: If you prefer, take a warm shower or bath for 5–10 minutes before continuing.
Benefit: Steaming improves blood circulation, relaxes muscles, and enhances absorption of products used later.
Step 3: Exfoliate Gently
Exfoliation removes dead skin cells, prevents ingrown hairs, and improves texture.
DIY Exfoliation options:
-
Physical exfoliant: Mix sugar or finely ground oatmeal with a small amount of coconut oil. Apply gently in circular motions. Avoid harsh scrubbing.
-
Chemical exfoliant: Use a mild lactic acid or glycolic acid solution designed for sensitive areas. Apply according to instructions, usually leaving it on for 3–5 minutes.
Tips:
-
Never use strong scrubs or abrasive tools.
-
Avoid exfoliating broken or irritated skin.
-
Frequency: 1–2 times per week is sufficient for sensitive areas.
Benefit: Exfoliation reduces bumps, smooths skin and enhances product absorption in later steps.
Step 4: Address Ingrown Hairs
Ingrown hairs can cause discomfort and dark spots. Treating them gently is key.
How to manage:
-
Use tweezers to carefully release hairs that are visible and just under the skin.
-
Apply a soothing treatment with salicylic acid or aloe vera.
-
Avoid picking or digging, which can lead to infection or scarring.
Prevention tip: Regular exfoliation and proper shaving/waxing techniques minimize future ingrown hairs.
Step 5: Apply a Soothing Mask
Masks hydrate, calm irritation, and reduce redness. Choose ingredients that are gentle and nourishing.
DIY mask ideas:
-
Aloe vera gel: Soothes and reduces inflammation.
-
Honey and yogurt: Hydrates and provides mild antibacterial properties.
-
Oatmeal paste: Mix oatmeal with water for a calming, anti-inflammatory effect.
How to apply:
-
Spread the mask evenly over the bikini area or vulva.
-
Leave on for 5–10 minutes.
-
Rinse with lukewarm water and pat dry.
Benefit: Masks reduce redness, calm irritation after hair removal, and leave skin soft and smooth.
Step 6: Hydrate the Skin
Hydration is crucial for sensitive areas. A light, non-comedogenic oil or serum nourishes the skin and prevents dryness.
Options:
-
Vitamin E oil: Supports skin repair and elasticity.
-
Coconut oil: Moisturizes and reduces friction.
-
Jojoba oil: Lightweight and non-greasy, mimicking natural skin oils.
How to apply:
-
Use a small amount and massage gently into the skin.
-
Avoid excessive pressure.
-
Allow it to absorb for several minutes.
Benefit: Hydration prevents flakiness, reduces irritation, and enhances skin texture.
Step 7: Address Dark Spots or Hyperpigmentation (Optional)
Some individuals experience pigmentation changes after hair removal or due to hormonal changes. Gentle treatments can help:
-
Niacinamide serum: Helps reduce pigmentation and improve skin tone.
-
Aloe vera: Can help lighten dark spots over time.
-
Vitamin C: Brightens skin but should be used cautiously on sensitive areas.
Tips:
-
Use brightening treatments only a few times per week.
-
Avoid harsh chemical peels or strong acids in intimate areas.
-
Always test new products on a small patch of skin first.
Benefit: Helps maintain a smooth, even-toned appearance.
Step 8: Maintain Post-Treatment Care
After your vajacial, it’s important to protect and nurture the area.
Post-treatment tips:
-
Wear loose, breathable clothing to avoid friction.
-
Avoid sexual activity, heavy exercise, or hot tubs for at least 24 hours.
-
Continue gentle cleansing and hydration daily.
-
Use exfoliation and masks no more than 1–2 times per week to prevent irritation.
Pro tip: Consistency is key. Regular self-care keeps your intimate area smooth, healthy, and radiant over time.
Safety Tips for DIY Vajacials
While DIY vajacials are generally safe, keep these precautions in mind:
-
Avoid using harsh chemicals, scrubs, or acids in intimate areas.
-
Don’t attempt to remove deep ingrown hairs; seek professional care if needed.
-
If you experience pain, swelling, or irritation, stop immediately and consult a healthcare provider.
-
Ensure all tools and hands are clean to reduce infection risk.
-
Be gentle sensitive skin reacts more easily to over-exfoliation or rough handling.
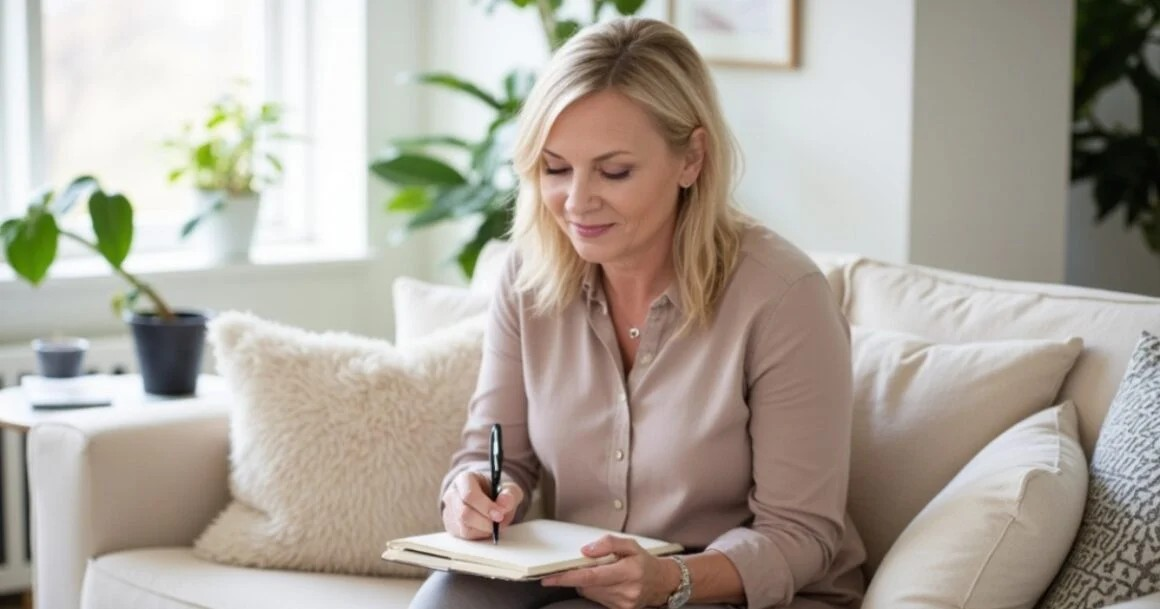
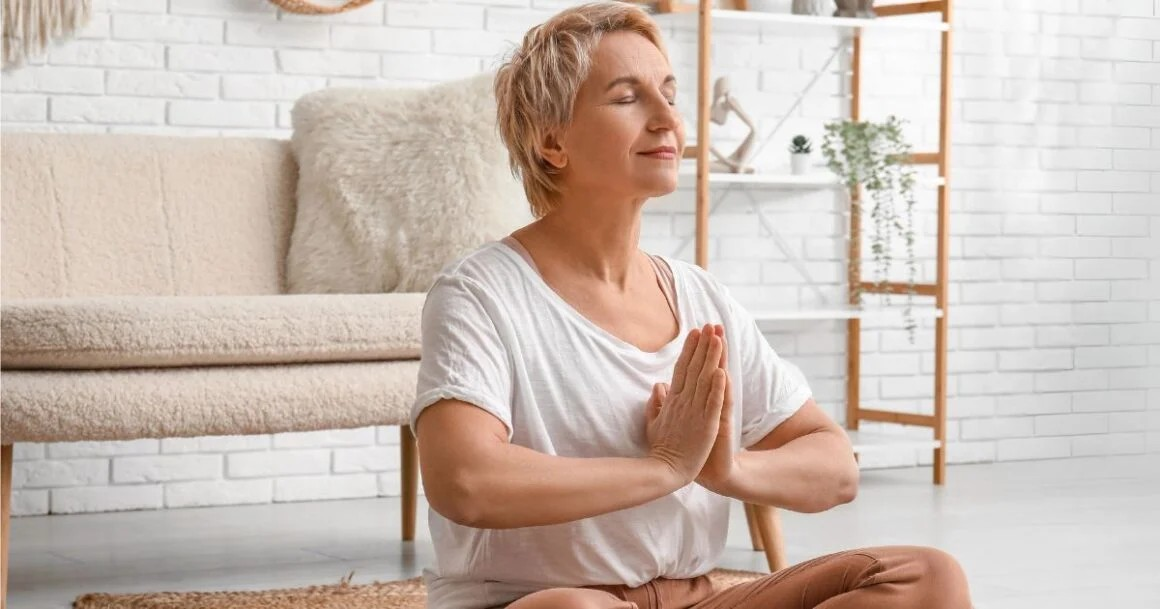
Bonus: Enhancing Your Vajacial Experience
-
Set the mood: Soft lighting, calming music, and a warm environment can make it feel like a spa experience.
-
Aromatherapy: Use essential oils in your bath or steam for relaxation but avoid direct application to the vulva.
-
Mindfulness: Focus on slow, intentional movements and deep breathing during the treatment.
-
Hydration: Drink water before and after your vajacial to support skin health and overall wellness.
Long-Term Benefits of Regular Vajacials
Consistently caring for your intimate area with a vajacial routine can:
-
Reduce ingrown hairs and razor bumps
-
Improve skin smoothness and hydration
-
Calm post-waxing or post-shaving irritation
-
Maintain even skin tone and minimize pigmentation changes
-
Promote self-confidence and body positivity
A DIY vajacial is more than just a beauty treatment it’s a form of self-care and empowerment, helping you feel connected to your body while supporting skin health. A vajacial may sound luxurious or intimidating, but with the right knowledge, tools, and techniques, anyone can safely do it at home. By following these 8 steps cleansing, steaming, exfoliating, addressing ingrown hairs, applying a soothing mask, hydrating, optional brightening, and maintaining post-care you can create a professional-quality self-care ritual that leaves you feeling pampered, confident, and cared for.
Remember, the key to a successful DIY vajacial is gentleness, consistency, and listening to your body. With regular practice, your intimate area can remain smooth, healthy, and radiant, all while giving you a few minutes of mindful self-care each week.
DIY Vajacial Treatment in Just 8 Easy Steps
Taking care of intimate skin is an important part of personal wellness and self-care. While many people focus on facial skincare, body care, and hair, the intimate area often gets overlooked. That’s where a vajacial comes in. A vajacial, also called a vaginal facial, is designed to cleanse, exfoliate, and nourish the bikini line and vulva. This treatment is especially popular after hair removal, but it’s also a great self-care ritual for anyone who wants soft, smooth, and healthy skin in the intimate area.
This guide will walk you through a comprehensive, expanded DIY vajacial routine, going beyond the basics to include ingredient explanations, alternative steps, troubleshooting tips, and ways to enhance your results at home.
Understanding the Vajacial
Before diving into the steps, it’s important to understand what a vajacial is and why it’s beneficial. Unlike a facial, a vajacial focuses on the skin around the bikini line, inner thighs, and vulva. Treatments can vary, but most share common goals:
-
Exfoliation: Removing dead skin cells to smooth the surface and prevent ingrown hairs.
-
Hydration: Moisturizing and nourishing delicate skin.
-
Calming: Reducing redness, irritation, or inflammation caused by waxing or shaving.
-
Brightening: Minimizing pigmentation or dark spots from hair removal or friction.
-
Acne and ingrown hair prevention: Targeting bumps, folliculitis, and irritation.
A vajacial combines elements of skincare, hair care, and self-care, creating a holistic treatment that promotes both skin health and personal wellness.
Why DIY Vajacials Are Worth It
Professional vajacials can cost $50–$150 per session, depending on the spa and treatments included. Doing it at home is not only cost-effective but also empowering. Benefits include:
-
Customizable ingredients: You can choose products suited for your skin type and sensitivities.
-
Control over hygiene: At home, you can ensure a clean environment and sanitized tools.
-
Flexible schedule: You can perform the treatment on your own time.
-
Enhanced mindfulness: Taking the time to care for your intimate area can improve body awareness and promote self-confidence.
Step 1: Cleanse Thoroughly
The first step in a vajacial is cleansing. The intimate area is sensitive and prone to bacteria, so proper cleansing is crucial. Use gentle, fragrance-free products.
How to do it:
-
Use warm water and a mild cleanser.
-
Gently massage with your fingers in a circular motion, focusing on the bikini line and surrounding skin.
-
Rinse thoroughly with lukewarm water.
-
Pat dry with a soft, clean towel.
Tips for success:
-
Avoid harsh soaps or products with alcohol or fragrances, which can irritate delicate skin.
-
Do not scrub aggressively; gentle massaging is enough.
-
Use this step as a chance to inspect your skin for ingrown hairs, redness, or irritation.
Step 2: Steam the Area
Steaming softens skin, opens pores, and makes exfoliation more effective. While optional, steaming provides numerous benefits:
-
Prepares skin for masks and serums
-
Improves circulation
-
Helps relax the muscles in the pelvic area
How to steam safely:
-
Fill a bowl with hot water and place it on a stable surface.
-
Sit over the steam for 5–10 minutes, keeping a safe distance to prevent burns.
-
For extra relaxation, add a few drops of calming essential oils like chamomile or lavender, but do not apply oils directly to the skin.
Alternative: Take a warm shower or bath for 5–10 minutes, letting the heat prepare your skin naturally.
Expert tip: Steaming can also enhance relaxation and mindfulness, making your DIY vajacial feel more like a spa experience.
Step 3: Exfoliate Gently
Exfoliation removes dead skin cells, prevents ingrown hairs, and smooths the texture. Choose between physical and chemical exfoliants, depending on your comfort level.
Physical Exfoliation:
-
Mix sugar or finely ground oatmeal with a small amount of coconut oil.
-
Gently massage in circular motions over the bikini area.
-
Rinse thoroughly with lukewarm water.
Chemical Exfoliation:
-
Use a mild lactic acid or glycolic acid solution designed for sensitive skin.
-
Apply for 3–5 minutes and rinse carefully.
-
Avoid strong acids, which can burn or irritate delicate skin.
Tips:
-
Exfoliate 1–2 times per week.
-
Avoid exfoliating broken or irritated skin.
-
Always follow up with hydration to maintain skin balance.
Step 4: Manage Ingrown Hairs
Ingrown hairs are common after shaving or waxing. Address them carefully to avoid infection or scarring.
How to do it safely:
-
Identify hairs that are just under the skin.
-
Use sterilized tweezers to gently lift the hair out.
-
Apply a soothing solution, such as aloe vera or a diluted tea tree oil mix.
-
Do not dig aggressively; this can worsen inflammation.
Preventive measures:
-
Exfoliate regularly.
-
Use proper shaving or waxing techniques.
-
Avoid tight clothing that rubs the area excessively.
Extra tip: Consider using a salicylic acid treatment once or twice a week to prevent folliculitis and ingrown hairs.
Step 5: Apply a Soothing Mask
A soothing mask hydrates, calms irritation, and reduces redness. Homemade masks are effective and gentle on sensitive skin.
DIY mask options:
-
Aloe Vera Gel: Pure aloe vera reduces inflammation and promotes healing.
-
Honey and Yogurt: Honey hydrates while yogurt’s probiotics help soothe irritation.
-
Oatmeal Paste: Mix oatmeal with water or milk for a calming, anti-inflammatory mask.
Application tips:
-
Spread evenly over the skin.
-
Leave on for 5–10 minutes.
-
Rinse thoroughly with lukewarm water.
Expert tip: Masks can also support skin tone improvement, particularly if you experience post-inflammatory hyperpigmentation from hair removal.
Step 6: Hydrate and Nourish
Hydration keeps the skin soft, elastic, and protected against irritation. Oils and serums are ideal for sensitive areas.
Recommended options:
-
Vitamin E oil: Supports healing and prevents dryness.
-
Coconut oil: Lightweight, moisturizing, and antibacterial.
-
Jojoba oil: Mimics natural sebum and is non-comedogenic.
How to apply:
-
Use a small amount and massage gently into the skin.
-
Allow it to absorb fully.
-
Avoid applying excessive pressure to delicate skin.
Benefit: Hydration reduces itching, flakiness, and redness, leaving the skin soft and smooth.
Step 7: Address Pigmentation (Optional)
Some people experience dark spots or uneven skin tone from waxing, shaving, or friction. Gentle brightening treatments can help.
DIY brightening options:
-
Niacinamide serum: Helps reduce hyperpigmentation and supports skin barrier health.
-
Aloe vera gel: Natural and safe for sensitive skin.
-
Vitamin C serum: Use sparingly, as strong concentrations may irritate intimate areas.
Tips:
-
Apply 1–2 times per week.
-
Avoid strong acids or peels in sensitive areas.
-
Always test new products on a small area before full application.
Long-term benefit: Over time, gentle brightening can create a more even skin tone and reduce the appearance of post-hair removal pigmentation.
Step 8: Post-Treatment Care
After your vajacial, it’s essential to protect and maintain your results.
Post-care tips:
-
Wear loose, breathable clothing to avoid friction.
-
Avoid sexual activity, hot tubs, or heavy exercise for 24 hours.
-
Continue gentle cleansing daily.
-
Exfoliate and apply masks only 1–2 times per week to prevent irritation.
Additional self-care suggestions:
-
Drink water to support skin hydration.
-
Take a moment for mindfulness and relaxation after the treatment.
-
Track how your skin responds and adjust your routine accordingly.
Common Mistakes to Avoid
Even with DIY treatments, mistakes can happen. Avoid these common pitfalls:
-
Over-exfoliating: Too much exfoliation causes irritation, redness, or microtears.
-
Using harsh products: Strong acids or perfumed cleansers can damage sensitive skin.
-
Ignoring hygiene: Unclean tools or hands can introduce bacteria.
-
Skipping patch tests: Testing products on a small area prevents adverse reactions.
-
Applying too much pressure: Gentle massaging is enough; avoid rough scrubbing.
Enhancing Your Vajacial Experience
A vajacial can be a luxurious ritual when you make it mindful and relaxing.
-
Set the scene: Dim lights, calming music, and warm water create a spa-like experience.
-
Aromatherapy: Essential oils in a warm bath or diffuser can enhance relaxation but avoid direct application to intimate skin.
-
Mindfulness: Focus on your breathing and sensations while performing the treatment.
-
Consistency: Regular treatments maintain skin health and prevent irritation.
Long-Term Benefits of DIY Vajacials
Regular DIY vajacials can result in:
-
Reduced razor bumps and ingrown hairs
-
Calmer, smoother, and hydrated skin
-
Even skin tone and reduced dark spots
-
Enhanced confidence and comfort in intimate areas
-
A relaxing self-care routine that promotes mindfulness
Over time, these benefits accumulate, improving both the health and appearance of intimate skin.
Tips for Choosing Products Safely
-
Always select unscented, hypoallergenic products designed for sensitive skin.
-
Avoid harsh chemical peels or scrubs.
-
Read ingredient labels and test new products on a small area.
-
Prioritize natural, soothing ingredients like aloe vera, chamomile, and vitamin E.
Final Thoughts
A vajacial is more than just a beauty treatment it’s a holistic self-care ritual. By following these 8 steps, you can create a spa-quality experience at home that leaves your intimate area smooth, hydrated, and healthy. Gentle cleansing, exfoliation, hydration, and optional brightening treatments support long-term skin health, while mindfulness and consistency enhance overall well-being.
Remember, DIY vajacials are about listening to your body, being gentle, and prioritizing your comfort. With regular care, you can enjoy soft, radiant, and healthy skin while feeling confident and empowered in your self-care journey.