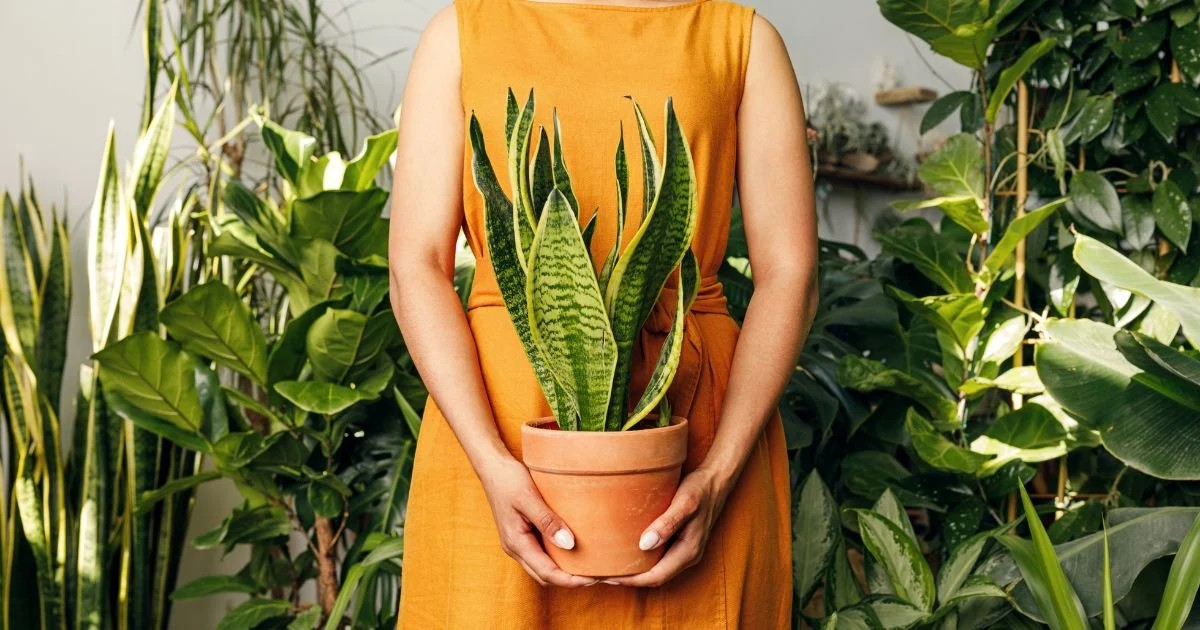
How To Use Coffee Grounds As Fertilizer For Indoor Plants
If you love coffee as much as I do, you probably end up with a fair amount of used coffee grounds every week. Did you know that those leftover grounds can actually benefit your indoor plants? That’s right—your morning pick-me-up can double as a natural, eco-friendly fertilizer.
In this guide, we’ll explore how to use coffee grounds for indoor plants, which plants benefit the most, the best ways to apply them, potential pitfalls, and creative ideas to boost your plant’s health—all while keeping your house lush and thriving.
Why Coffee Grounds Are Good for Indoor Plants
Coffee grounds are more than just organic waste—they’re packed with nutrients and compounds that can help your plants thrive. Here’s why:
1. Rich in Nitrogen
Nitrogen is a key nutrient that promotes leaf growth and keeps plants vibrant. Coffee grounds are naturally high in nitrogen, making them an excellent supplement for leafy houseplants like pothos, philodendrons, and peace lilies.
2. Improves Soil Structure
Used coffee grounds add organic matter to your soil. This improves aeration and drainage, which is especially helpful for potted plants that may suffer from compacted soil.
3. Encourages Microbial Life
Coffee grounds feed beneficial microorganisms in the soil. These microbes help break down organic material, making nutrients more available for your plants.
4. Can Help Repel Pests
Some gardeners report that coffee grounds discourage pests like ants, slugs, and snails, making them a natural deterrent for indoor plant care.
5. Eco-Friendly and Free
Instead of throwing coffee grounds away, you’re recycling and giving your plants a nutrient boost—plus, it’s free!
Which Indoor Plants Benefit Most
Not all plants love coffee grounds, so it’s important to choose wisely. Here are the best indoor plants for coffee grounds:
-
Pothos – Thrives with extra nitrogen for lush, trailing leaves.
-
Philodendron – Responds well to nutrient-rich soil amendments.
-
Peace Lily – Loves nutrient boosts for its green leaves and occasional blooms.
-
Spider Plant – Benefits from mild fertilizers like coffee grounds.
-
Ferns – Appreciate organic matter in their soil.
-
African Violets – Can enjoy occasional coffee-based feeding when used carefully.
Note: Acid-loving plants like azaleas or orchids can also benefit, but most standard houseplants prefer moderate use, as coffee grounds can be slightly acidic.
Step 1: Preparing Coffee Grounds
Before you add coffee grounds to your indoor plants, you need to prepare them properly.
1. Use Only Used Coffee Grounds
Fresh, wet coffee grounds from brewing are perfect, but avoid sweetened or flavored coffee—sugar and additives can harm plants.
2. Dry Your Grounds (Optional but Recommended)
-
Spread used grounds on a plate or baking sheet to air dry.
-
This prevents mold growth when added directly to soil.
3. Check the Texture
-
Coffee grounds that are too coarse may sit on the soil surface and not break down easily.
-
If you have very coarse grounds, consider grinding them slightly or mixing with soil.
Pro Tip: Coffee filters work great for storing dried grounds. Keep them dry and ready for your next plant feeding session.
Step 2: How to Apply Coffee Grounds
There are several ways to use coffee grounds for indoor plants. It’s important to use them in moderation to avoid harming your plants.
Method 1: Mix Into Soil
-
Sprinkle a thin layer of coffee grounds into the top inch of soil.
-
Mix gently to incorporate them without compacting the soil.
-
This method releases nutrients gradually as the grounds decompose.
Method 2: Compost Tea
-
Soak used coffee grounds in water for 24 hours to make a nutrient-rich liquid.
-
Pour this diluted coffee over your plant soil.
-
Great for a quick nutrient boost and easier on sensitive plants.
Method 3: Top Dressing
-
Sprinkle a small amount of coffee grounds on top of your soil as a slow-release fertilizer.
-
Water lightly to help the grounds absorb into the soil.
-
Avoid thick layers—too much can create a crust or repel water.
Method 4: Mix with Other Organic Matter
-
Combine coffee grounds with compost, worm castings, or potting mix.
-
This creates a balanced soil amendment that provides nitrogen and improves soil texture.
Pro Tip: Start small. Use about 1 teaspoon of coffee grounds per 4-inch pot to see how your plant responds. You can always increase gradually.
Step 3: Coffee Ground Frequency
How often should you feed your plants with coffee grounds?
-
Indoor plants: Once every 3–4 weeks is sufficient.
-
Nitrogen-loving plants: Up to twice a month can work.
-
Acid-loving plants: Monitor leaf health and adjust frequency.
Remember: Overusing coffee grounds can lead to too much acidity or nitrogen, which may harm your plant. Always observe your plant after applying.
Step 4: Potential Pitfalls
While coffee grounds are beneficial, there are some common mistakes to avoid:
1. Using Too Much
-
Thick layers can repel water, form mold, or burn roots due to excess nitrogen.
-
Solution: Use a light sprinkle or mix with soil.
2. Not Drying Grounds
-
Wet, undried grounds can develop mold quickly, especially in humid indoor environments.
-
Solution: Air dry or bake briefly to remove moisture.
3. Adding Sweetened or Flavored Coffee
-
Sugars can attract pests and cause mold.
-
Stick to plain brewed coffee grounds only.
4. Ignoring pH Sensitivity
-
Coffee is mildly acidic. While most houseplants tolerate it, excessive use may affect soil pH over time.
-
Solution: Alternate coffee grounds with other neutral organic fertilizers.
Step 5: Benefits Beyond Fertilizer
Using coffee grounds for indoor plants isn’t just about nutrients—they provide other perks too:
Pest Deterrent
Sprinkling coffee grounds lightly around the base of your plant may repel ants and fungus gnats.
Soil Structure
Coffee grounds improve soil aeration, which is crucial for potted plants with dense or compacted soil.
Eco-Friendly Gardening
Instead of sending coffee grounds to the landfill, you’re recycling nutrients for your indoor garden.
Composting Option
If you have lots of coffee grounds, combine them with other compostable kitchen scraps to create homemade compost for later use.
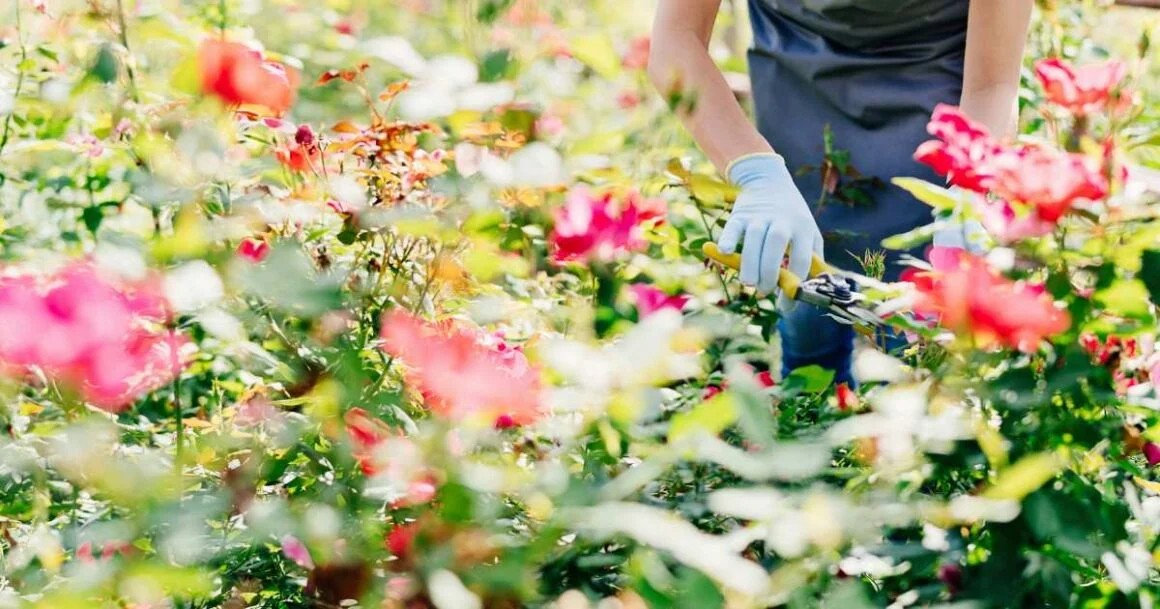
Step 6: Creative Uses of Coffee Grounds for Indoor Plants
Coffee grounds can also be used creatively around your home:
-
DIY Potting Mix: Combine coffee grounds with potting soil, vermiculite, and compost for a nutrient-rich mix.
-
Hydroponic Supplement: Dilute coffee grounds in water as a liquid feed for plants in semi-hydroponic setups.
-
Decorative Mulch: Sprinkle dried coffee grounds on the top of your pot for a modern, earthy look.
Pro Tip: Pair coffee grounds with moss or LECA clay pebbles for both aesthetic and functional benefits.
Step 7: Monitoring Your Plant’s Response
Every plant reacts differently, so observe closely after applying coffee grounds:
-
Healthy signs: Vibrant green leaves, steady growth, stronger stems.
-
Warning signs: Yellowing leaves, slow growth, or mold on soil surface.
Adjust frequency or amount based on these observations. A light sprinkle every few weeks is usually enough for most houseplants.
Plant-Specific Coffee Ground Tips
Pothos & Philodendrons
-
Love nitrogen boosts for lush foliage.
-
Mix 1 teaspoon of grounds per 4-inch pot into the soil every 3–4 weeks.
Peace Lily
-
Can tolerate slightly more nitrogen but watch for leaf tip burn.
-
Use compost tea version for sensitive plants.
Spider Plants
-
Sprinkle lightly on top of soil or mix with compost.
-
Avoid thick layers that could repel water.
African Violets
-
Sensitive to acidity, so use diluted compost tea instead of sprinkling dry grounds.
Seasonal Considerations
Spring & Summer
-
Growth is active; coffee grounds are most effective as a nitrogen boost.
-
Apply every 2–3 weeks if desired.
Fall & Winter
-
Growth slows; reduce frequency to once a month or every six weeks.
-
Monitor leaves for signs of over-fertilization.
My Personal Experience
I started using coffee grounds on my pothos and philodendrons a few years ago, and the difference was noticeable:
-
Leaves were greener and fuller.
-
Soil stayed aerated and less compacted.
-
Fewer signs of stress compared to plants fed only commercial fertilizers.
I also love the sustainability factor—my coffee habit directly benefits my indoor jungle, and I feel great about recycling rather than tossing grounds into the trash.
Coffee grounds are an easy, sustainable, and effective fertilizer for many indoor plants. With a little preparation and moderation, you can:
-
Improve soil structure and aeration
-
Boost nitrogen for healthy leaves
-
Reduce pests naturally
-
Recycle kitchen waste and help the environment
Key Takeaways:
-
Use only plain, brewed coffee grounds.
-
Dry grounds before adding to soil to prevent mold.
-
Apply lightly or mix into soil—don’t overdo it.
-
Monitor your plant for signs of nutrient deficiency or stress.
-
Consider compost tea or mixing with other organic matter for more balanced feeding.
By incorporating coffee grounds into your indoor gardening routine, you’re nourishing your plants and reducing waste—a win-win for your home and the planet.
Give it a try! Your houseplants might just thank you with lush, vibrant growth and healthier leaves.
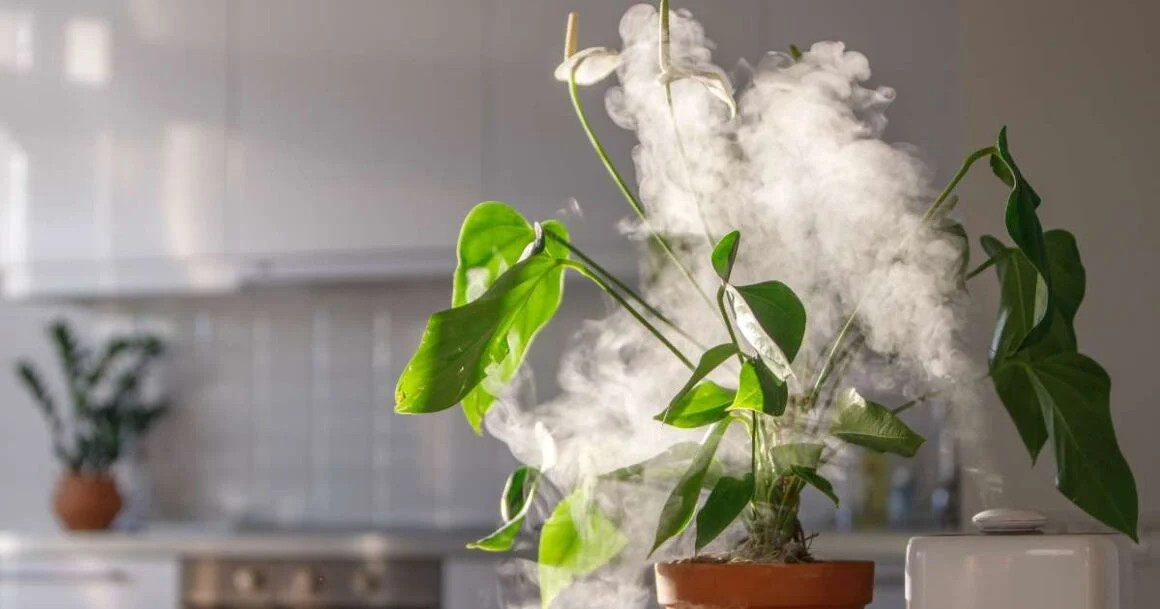
How to Use Coffee Grounds as Fertilizer for Indoor Plants
Coffee isn’t just for waking you up in the morning—it’s also a powerful, eco-friendly tool for indoor gardening. Used coffee grounds are a rich source of nutrients and can help your indoor plants thrive when applied correctly. In this expanded guide, we’ll go in-depth into everything you need to know, from preparing your grounds to advanced fertilizer techniques.
Understanding the Nutrients in Coffee Grounds
Coffee grounds are more than just nitrogen—they contain several essential nutrients that help plants grow:
-
Nitrogen (N): Promotes leafy growth and lush foliage.
-
Phosphorus (P): Supports strong roots and helps with blooming.
-
Potassium (K): Encourages overall plant health and resilience.
-
Micronutrients: Calcium, magnesium, and trace minerals improve soil structure and plant strength.
The nitrogen content is particularly beneficial for green, leafy plants like pothos, philodendrons, and peace lilies. For flowering plants, coffee grounds alone may not provide enough phosphorus for blooms, so mixing with other organic matter or fertilizers is recommended.
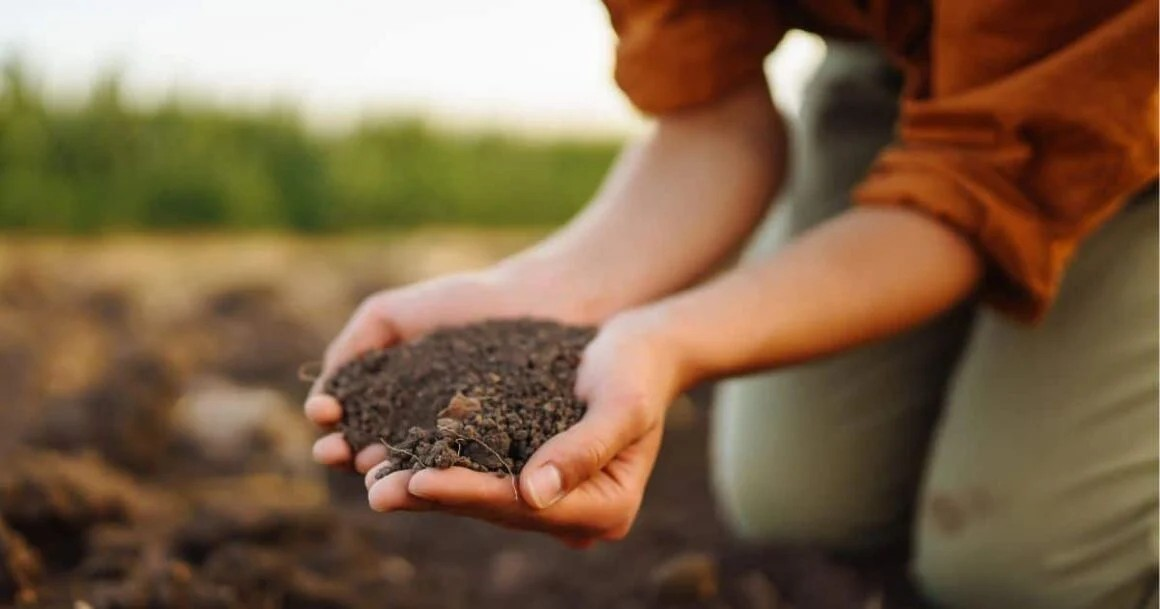
Step 1: Collecting and Preparing Coffee Grounds
Proper preparation ensures your coffee grounds benefit plants without causing problems.
1. Use Only Plain, Brewed Coffee Grounds
-
Avoid flavored, sweetened, or instant coffee—sugar and additives can attract mold and pests.
2. Dry Your Grounds
-
Spread coffee grounds on a plate or baking sheet to air dry for several hours or overnight.
-
Drying reduces mold risk and makes the grounds easier to sprinkle on soil.
3. Check Texture
-
Coarse grounds may sit on the soil surface and decompose slowly.
-
Fine grounds mix easily with soil and break down faster.
Pro Tip: Store dried grounds in an airtight container until you’re ready to use them. This also prevents unwanted odors.
Step 2: Applying Coffee Grounds
There are several ways to use coffee grounds on your indoor plants:
1. Mixing into Soil
-
Sprinkle a thin layer of coffee grounds into the top 1–2 inches of soil.
-
Mix gently to integrate with existing soil.
-
Provides gradual nutrient release as grounds decompose.
2. Compost Tea
-
Soak coffee grounds in water for 24 hours to make a nutrient-rich “tea.”
-
Dilute 1:3 with water for indoor plants.
-
Pour over the base of plants to fertilize and hydrate simultaneously.
3. Top Dressing
-
Lightly sprinkle coffee grounds over the soil surface as a slow-release fertilizer.
-
Avoid thick layers, as they can crust, repel water, or attract mold.
4. Combined with Organic Matter
-
Mix coffee grounds with compost, worm castings, or potting soil to create a balanced, nutrient-rich planting mix.
Pro Tip: Start with small amounts. For small pots, 1 teaspoon per 4-inch pot is usually enough.
Step 3: Coffee Ground Compost Tea – Step-by-Step Recipes
One of the most effective ways to use coffee grounds is compost tea, which delivers nutrients directly to roots.
Recipe 1: Basic Coffee Grounds Tea
Ingredients:
-
1 tablespoon used coffee grounds
-
1 cup water
Instructions:
-
Place coffee grounds in a container.
-
Add water and stir.
-
Let sit 12–24 hours.
-
Strain and pour over plant soil.
Recipe 2: Nutrient-Boosted Coffee Tea
Ingredients:
-
2 tablespoons coffee grounds
-
1 tablespoon used green tea leaves (optional)
-
2 cups water
Instructions:
-
Mix ingredients and soak 24 hours.
-
Strain and dilute with an equal amount of water.
-
Pour over indoor plants, especially nitrogen-loving foliage plants.
Pro Tip: Compost tea can also be sprayed on leaves for foliar feeding, giving your plants an extra nutrient boost.
Step 4: Plant-Specific Coffee Ground Tips
Different plants react differently to coffee grounds. Here’s a breakdown:
Pothos & Philodendrons
-
Loves nitrogen for lush foliage.
-
Mix 1 teaspoon of grounds per 4-inch pot into soil every 3–4 weeks.
Peace Lily
-
Thrives with moderate nitrogen but sensitive to acidity.
-
Use compost tea rather than sprinkling dry grounds for gentle feeding.
Spider Plants
-
Can tolerate light sprinkling of coffee grounds.
-
Avoid thick layers to prevent water runoff issues.
Ferns
-
Appreciate organic matter in their soil.
-
Mix coffee grounds with compost for nutrient-rich soil.
African Violets
-
Sensitive to acidity.
-
Use diluted compost tea occasionally rather than dry grounds.
Step 5: How Often to Use Coffee Grounds
Frequency matters to avoid nutrient imbalance:
-
Most indoor plants: Every 3–4 weeks.
-
Nitrogen-loving plants: Every 2 weeks in growing season.
-
Acid-loving plants: Monitor pH and leaf health before reapplying.
Overuse can acidify the soil too much or provide excessive nitrogen, which may harm plants. Observe your plants and adjust frequency accordingly.
Step 6: Troubleshooting
Even though coffee grounds are natural, mistakes happen.
1. Mold Growth
-
Occurs if wet grounds are applied in thick layers.
-
Solution: Dry grounds and sprinkle lightly, or use compost tea.
2. Soil Crusting
-
Thick layers of dry coffee grounds can repel water.
-
Solution: Mix grounds into soil or water thoroughly after application.
3. Yellow Leaves
-
Excess nitrogen can cause leaf burn or yellowing.
-
Solution: Reduce coffee ground use and alternate with neutral fertilizers.
4. Pest Attraction
-
Avoid sugar or flavored coffee grounds; they can attract ants or fruit flies.
Pro Tip: Coffee grounds work best when combined with organic matter, compost, or potting mix.
Step 7: Seasonal Adjustments
Spring & Summer
-
Growth is active; plants benefit most from nitrogen-rich coffee grounds.
-
Apply every 2–3 weeks for active growers.
Fall
-
Plants grow slower; reduce coffee ground use.
-
Focus on compost tea for gentle nutrient delivery.
Winter
-
Minimal fertilizer is needed.
-
Use coffee grounds sparingly to avoid over-fertilization during dormancy.
Step 8: Creative Uses of Coffee Grounds for Indoor Plants
Coffee grounds aren’t just fertilizer—they can be creative additions to your indoor garden:
-
Top Layer Mulch – Gives a clean, dark look on top of soil while slowly releasing nutrients.
-
Compost Mix – Combine with leaves, kitchen scraps, or worm castings for DIY compost.
-
Hydroponic Nutrient Boost – Diluted coffee tea provides nutrients for semi-hydroponic setups.
-
Foliar Spray – Diluted compost tea can be sprayed directly on leaves.
-
Propagation Aid – Sprinkle lightly around cuttings to encourage root development.
Step 9: Eco-Friendly Gardening
Using coffee grounds for indoor plants is eco-conscious:
-
Reduces waste sent to landfills.
-
Provides a natural, chemical-free fertilizer alternative.
-
Encourages sustainable gardening practices.
Combine coffee grounds with other kitchen scraps like eggshells, banana peels, or vegetable peelings for nutrient-rich indoor garden compost.
Step 10: My Personal Experience
I started using coffee grounds on my indoor plants about two years ago. The changes were noticeable:
-
My pothos leaves grew larger and more vibrant.
-
Spider plants produced more babies.
-
Soil stayed light and well-draining, reducing root rot risk.
-
Using compost tea from coffee grounds felt eco-friendly and rewarding.
I also love the satisfaction of recycling something I’d normally toss into the trash. My indoor garden thrives, and my coffee habit now benefits both me and my plants.
Bonus Tips for Coffee-Loving Plant Parents
-
Combine with LECA – For semi-hydro systems, coffee tea can be used as a nutrient solution for LECA-grown plants.
-
Alternate Fertilizers – Use coffee grounds alongside compost or liquid fertilizers for a balanced feeding plan.
-
Track pH – If you have sensitive plants, occasionally test soil pH to ensure it doesn’t get too acidic.
-
Dry vs. Wet – Dried coffee grounds are safer for sprinkling; wet grounds are best for compost tea.
-
Use Moderation – A little goes a long way; overuse can damage roots or leaves.
Final Thoughts
Coffee grounds are a versatile, eco-friendly, and nutrient-rich addition to your indoor gardening toolkit. They:
-
Promote healthy, leafy growth with nitrogen
-
Improve soil structure and aeration
-
Support beneficial microorganisms
-
Can reduce pests naturally
-
Help you recycle kitchen waste
Key Takeaways:
-
Only use plain brewed coffee grounds.
-
Dry or compost grounds to avoid mold.
-
Use in moderation, either as a soil amendment, top dressing, or compost tea.
-
Observe your plant’s response and adjust application.
-
Combine with other organic matter for best results.
By incorporating coffee grounds into your indoor gardening routine, you’ll boost plant health, recycle kitchen waste, and enjoy greener, lusher foliage. Your houseplants will thank you, and you’ll feel great knowing your coffee habit is doing double duty—energizing both you and your indoor garden.