How To Propagate Plants In Water In Just 5 Easy Steps
If you’re a plant lover, you’ve probably heard of plant propagation—the process of creating new plants from an existing one. It’s like giving your plants a second life! And one of the easiest and most rewarding ways to do this is by propagating in water.
Water propagation is simple, low-maintenance, and perfect for beginners. You don’t need fancy tools or a greenhouse—just a healthy plant, a container of water, and a little patience. Within a few weeks, you can watch roots sprout and create new, thriving plants.
In this guide, I’ll walk you through 5 easy steps to propagate plants in water, plus tips, troubleshooting advice, and creative ways to display your water-propagated plants.
Why Propagate Plants in Water?
Water propagation has become increasingly popular for good reasons:
-
It’s Beginner-Friendly: No soil? No problem. You can see exactly what’s happening with your plant roots.
-
It’s Mess-Free: You don’t need to worry about messy soil, pots, or fertilizers.
-
It’s Rewarding: Watching roots grow in clear water is fascinating and satisfying.
-
It’s Cost-Effective: You can create multiple plants from one cutting without buying anything new.
-
It Promotes Plant Health: Starting in water reduces the risk of pests and soil-borne diseases.
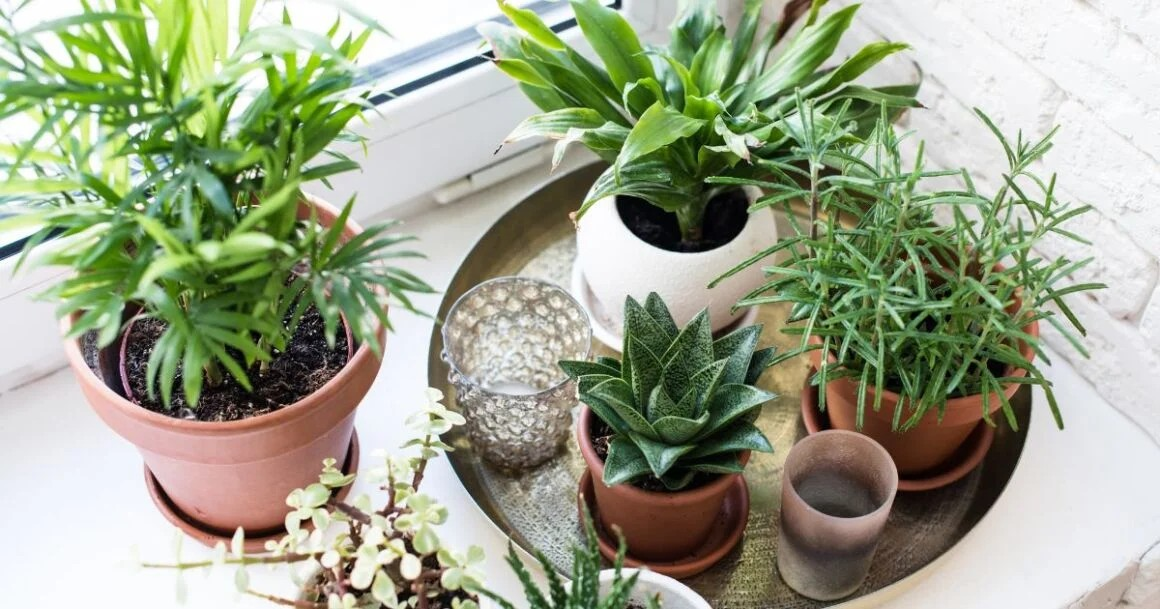
Some plants thrive particularly well in water propagation. Popular choices include:
-
Pothos
-
Philodendron
-
Monstera deliciosa (Swiss cheese plant)
-
Spider plant
-
English ivy
-
Coleus
-
Mint and other herbs
Pro Tip: While most tropical and vining plants propagate well in water, some woody plants or succulents may not. Always research your plant’s propagation method first.
5 Easy Steps to Propagate Plants in Water
Here’s a simple, step-by-step guide to propagating plants in water.
Step 1: Choose a Healthy Cutting
The first step is picking the right part of the plant.
Tips for selecting cuttings:
-
Look for healthy stems or branches, free of yellowing or damaged leaves.
-
Choose a cutting that is 4–6 inches long with at least one node. A node is a small bump on the stem where roots will emerge.
-
If the plant has multiple stems, select newer growth instead of old, woody stems.
Pro Tip: For vining plants like pothos or philodendron, a cutting with 2–3 leaves and a visible node is ideal. The node is where roots will form in water.
Quick Example: If you’re propagating a pothos:
-
Identify a stem with a node and two leaves.
-
Using clean scissors or pruning shears, cut just below the node.
-
Remove any lower leaves that will sit in the water to prevent rot.
Step 2: Prepare the Cutting
Once you have your cutting, it’s time to prepare it for water propagation.
What to do:
-
Remove any leaves that would sit under water—they will rot and spoil the water.
-
If the plant has thick stems, you can cut the bottom at an angle. This increases the surface area for roots to form.
-
Optional: Dip the cutting in rooting hormone for faster root growth. This step isn’t necessary, but it can help speed up propagation.
Pro Tip: Always use clean, sharp scissors or shears. A clean cut reduces stress on the plant and minimizes the risk of infection.
Step 3: Place Cutting in Water
Now comes the fun part: giving your cutting a fresh bath.
How to do it:
-
Choose a clean container—a glass jar, vase, or even a mason jar works beautifully.
-
Fill it with room-temperature water. Tap water is fine, but filtered or distilled water can reduce chlorine and chemicals.
-
Submerge the node in water, but keep leaves above water. Leaves underwater will rot.
-
Place the jar in bright, indirect sunlight. Avoid direct sun, which can scorch the leaves and encourage algae growth.
Pro Tip: Use a clear container so you can watch roots grow and monitor water quality.
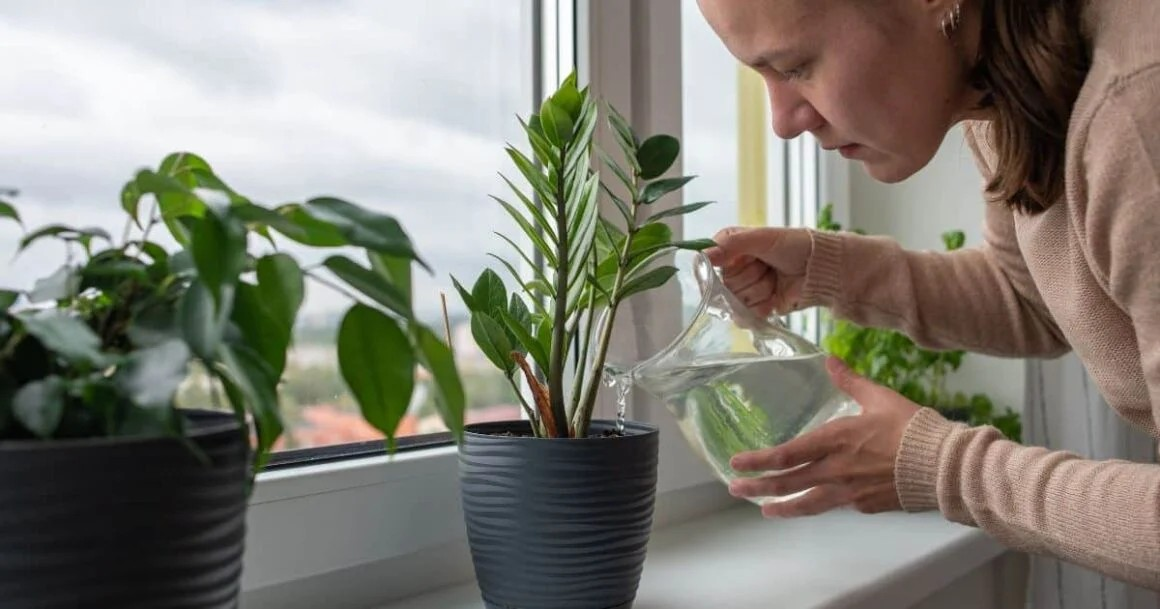
Step 4: Maintain the Cutting
Water propagation requires a little maintenance to ensure success.
Key maintenance steps:
-
Change the water every 3–4 days to prevent stagnation and bacteria growth.
-
Trim roots if they get too long before transferring to soil.
-
Keep an eye out for brown or mushy stems, which indicate rot. Remove any affected sections immediately.
-
Be patient—roots typically take 1–4 weeks to appear, depending on the plant type and environment.
Pro Tip: Some plants, like pothos, may develop roots quickly in just a week, while monstera can take 3–4 weeks or longer. Don’t get discouraged!
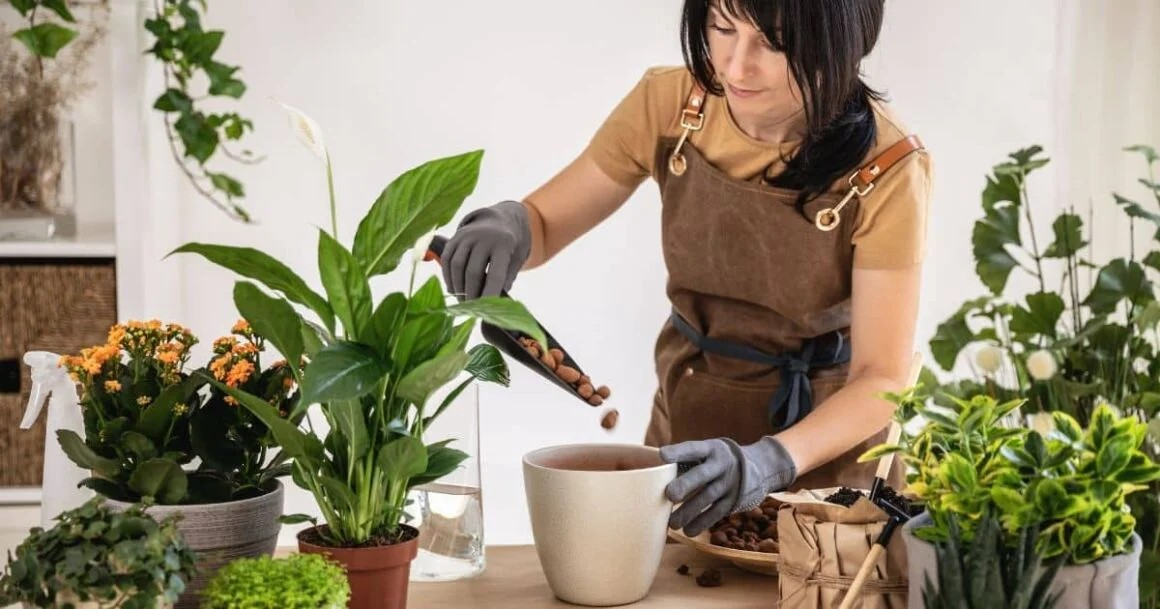
Step 5: Transfer to Soil (Optional)
Once your cutting has grown healthy, visible roots (2–4 inches long is ideal), you can transfer it to soil if desired.
How to do it:
-
Choose a well-draining pot with fresh potting soil.
-
Make a small hole and gently place the cutting in the soil.
-
Water lightly to help it adjust.
-
Keep the plant in bright, indirect light for the first few weeks while it acclimates.
Pro Tip: Some people prefer to keep plants growing in water indefinitely. While many plants thrive in water long-term, transitioning to soil allows for better nutrient absorption and larger growth.
Common Problems and How to Solve Them
Even though water propagation is simple, a few issues can arise. Here’s how to troubleshoot:
-
Roots aren’t forming
-
Make sure your cutting has at least one node submerged.
-
Use bright, indirect light—too little light slows root development.
-
Change water regularly to prevent stagnation.
-
-
Water turns cloudy or smells
-
Replace the water and clean the container thoroughly.
-
Remove any leaves that may have rotted.
-
-
Leaves turning yellow or brown
-
Check that leaves aren’t submerged in water.
-
Ensure cutting is healthy—yellowing leaves may indicate stress.
-
-
Algae growth in container
-
Use opaque or lightly tinted jars if sunlight is direct.
-
Rinse container regularly and change water often.
-
Pro Tip: Patience is key. Healthy roots may take weeks to appear, but the reward is strong, thriving new plants.
Best Plants for Water Propagation
While many plants can propagate in water, some thrive particularly well. Here’s a list of favorites for beginners:
-
Pothos: Fast-growing vines with minimal care.
-
Philodendron: Hardy plants with beautiful heart-shaped leaves.
-
Monstera deliciosa: Requires patience, but results are stunning.
-
Spider Plant: Produces small baby plantlets ideal for water propagation.
-
English Ivy: Roots quickly and looks great trailing from a jar.
-
Coleus: Vibrant colors and easy to propagate.
-
Mint, Basil, and Other Herbs: Perfect for kitchen windowsills.
Pro Tip: Herbs like mint or basil can be cut, rooted in water, and then transferred to soil for a continuous fresh supply.
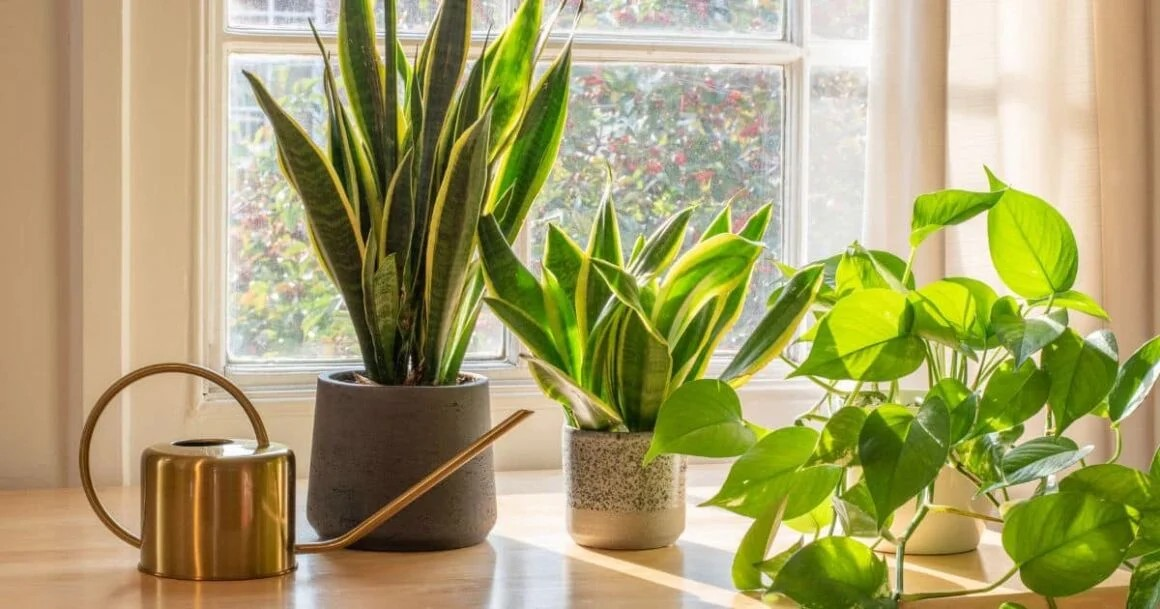
Creative Ways to Display Water-Propagated Plants
Water propagation isn’t just practical—it can be a beautiful decor element.
-
Mason Jar Displays: Use different-sized jars to propagate multiple cuttings and arrange them on a windowsill.
-
Glass Bottles: Tall bottles look elegant for long-stemmed cuttings.
-
Hanging Vases: Small hanging containers can propagate plants while saving counter space.
-
Tiered Propagation Station: Use a tiered stand to propagate multiple plants at once, creating a mini indoor garden.
Pro Tip: Add pebbles or marbles to the jar for extra stability and visual appeal.
Seasonal Water Propagation Tips
-
Spring/Summer: Warmth and light speed up root growth. Ideal for most tropical plants and herbs.
-
Fall: Light levels decrease; indoor propagation may take longer. Keep plants near a bright window.
-
Winter: Use supplemental grow lights for plants indoors to maintain root development.
Pro Tip: Consistency matters more than speed. Roots may take longer in winter, but healthy cuttings will eventually develop.
My Personal Experience
I started propagating pothos and philodendrons in water a few years ago. Within a month, I had:
-
Multiple rooted cuttings ready to go into soil
-
New baby plants to gift friends
-
A beautiful windowsill display of green jars and cuttings
Not only is water propagation cost-effective, but it also feels magical to watch roots form in real time. It’s one of the most satisfying plant projects for beginners and seasoned gardeners alike.
Propagating plants in water is simple, fun, and rewarding. By following these 5 easy steps—selecting a healthy cutting, preparing it properly, placing it in water, maintaining it, and transferring it to soil—you can create new plants from almost any indoor vine or herb.
Water propagation is:
-
Beginner-friendly
-
Low-maintenance
-
Mess-free
-
Perfect for indoor décor
-
Highly satisfying to watch
Whether you’re growing pothos, monstera, herbs, or ivy, this method gives you the joy of multiplying your plants without spending extra money. Plus, it’s an eco-friendly way to share plants with friends or expand your indoor jungle.
So grab a jar, select a cutting, and start watching roots grow! Within weeks, you’ll have thriving new plants ready to brighten your home or garden.
How to Propagate Plants in Water in Just 5 Easy Steps
Water propagation is one of the most accessible and rewarding ways to multiply your plants. You can turn a single cutting into several thriving plants, all while enjoying the satisfaction of watching roots develop in real time.
In this expanded guide, we’ll go beyond the basics. You’ll learn:
-
Plant-specific water propagation techniques
-
Seasonal and environmental tips for faster rooting
-
Advanced care tips for water-propagated plants
-
Creative ways to display and manage your propagated plants
-
Common problems and solutions
By the end, you’ll feel confident propagating a wide variety of plants in water, and you’ll know exactly how to maintain healthy cuttings until they’re ready for soil—or even keep them growing happily in water indefinitely.
Why Water Propagation is Perfect for Beginners
If you’re new to plant care or propagation, water propagation is a stress-free starting point. Here’s why:
-
You Can See Root Growth: Clear containers let you monitor roots forming, so you know exactly when the plant is ready for soil.
-
Minimal Tools Needed: All you need is a jar, water, and scissors.
-
Low Risk of Failure: Compared to soil propagation, water propagation has a lower risk of pests and soil-borne diseases.
-
Flexible Plant Choices: Many tropical plants, vines, and herbs thrive in water.
Pro Tip: Keep propagation jars near a bright, indirect light source. Root growth slows in low light, and leaves may stretch toward light unevenly.
Step 1: Selecting the Perfect Cutting
Choosing the right cutting is essential. Not all stems will root successfully, so focus on healthy, strong growth.
Tips for selecting cuttings:
-
Look for new, healthy growth rather than old, woody stems.
-
Each cutting should be 4–6 inches long, with at least one node, which is where roots will emerge.
-
Remove damaged or yellow leaves to prevent rot.
Plant-Specific Tips:
-
Pothos & Philodendron: Choose a stem with 2–3 leaves and a visible node. Remove the bottom leaf so it doesn’t sit in water.
-
Monstera deliciosa: Pick stems with a node and an aerial root if possible—it encourages faster rooting.
-
Spider plants: Use “pups” or baby plants that have already developed a small root.
-
Mint or Basil: Use soft, green stems rather than woody ones.
Pro Tip: Always use clean, sharp scissors or pruning shears. Dirty or dull tools can introduce bacteria, which slows root growth.
Step 2: Preparing the Cutting
Preparation is key to successful water propagation. Properly preparing your cutting reduces stress and encourages strong root formation.
Steps for preparation:
-
Trim Below the Node: Cut about half an inch below the node at an angle.
-
Remove Lower Leaves: Any leaves that will sit in water should be removed to prevent rot.
-
Optional Rooting Hormone: Dip the cut end in rooting hormone to boost root growth.
Advanced Tip:
For plants like coleus or mint, you can also gently scrape the bottom of the stem to expose the inner tissue, which encourages faster root development.
Step 3: Choosing the Right Container and Water
The container and water you choose can significantly impact root growth.
Container Tips:
-
Use a clear glass jar or vase to monitor roots easily.
-
Ensure it’s tall enough to submerge the node without touching leaves.
-
Narrow openings help support the stem, but wide jars allow for more cuttings at once.
Water Tips:
-
Use room-temperature water—cold water can shock cuttings.
-
Tap water works, but filtered or distilled water reduces chlorine and chemical buildup.
-
Change water every 3–4 days to prevent stagnation and bacteria growth.
Creative Display Ideas:
-
Mason jars lined up on a windowsill
-
Tall glass bottles for long-stemmed plants
-
Hanging glass globes for small cuttings, creating a floating indoor garden
Pro Tip: Avoid placing jars in direct sunlight—it can overheat the water and burn leaves. Indirect light is ideal.
Step 4: Maintaining the Cutting
Once your cutting is in water, maintenance is key to successful propagation.
Essential Care Tips:
-
Change water regularly to prevent bacteria and algae growth.
-
Keep the cutting in bright, indirect light.
-
Remove any leaves that start to decay.
-
Monitor for root growth; patience is essential.
Advanced Maintenance Tips:
-
Aerate Liquid: Gently stir water to oxygenate roots, especially in larger jars.
-
Support Stems: Use pebbles or marbles to keep cuttings upright.
-
Boost Nutrients: After 2–3 weeks, you can add a pinch of liquid fertilizer or comfrey tea to encourage growth.
Rooting Timeline by Plant Type:
-
Pothos: 1–2 weeks
-
Philodendron: 2–3 weeks
-
Monstera deliciosa: 3–4 weeks
-
Mint/Basil: 1 week
Pro Tip: Roots that are 2–4 inches long are usually strong enough to transplant into soil.
Step 5: Transferring to Soil (Optional)
Once roots are well-formed, you can transfer your cutting to soil for further growth.
Steps for transplantation:
-
Choose a well-draining pot with fresh potting soil.
-
Make a small hole in the soil and gently place the rooted cutting.
-
Water lightly to help it adjust.
-
Keep it in bright, indirect light for the first few weeks.
Keeping Plants in Water Long-Term
Some plants thrive indefinitely in water. For example:
-
Pothos and Philodendron can grow large with water propagation.
-
Mint can flourish in jars on a sunny windowsill.
-
Spider plant babies can develop roots in water and continue growing without soil.
Pro Tip: If keeping plants in water long-term, add a pinch of liquid fertilizer every 2–3 weeks to supply nutrients.
Common Problems and Solutions
Even with water propagation, issues can arise. Here’s how to troubleshoot:
-
No Root Growth
-
Check that the cutting has a node submerged.
-
Ensure bright, indirect light.
-
Be patient; some plants root slowly.
-
-
Cloudy or Smelly Water
-
Replace water and clean the container.
-
Remove decaying leaves immediately.
-
-
Leaves Yellowing or Rotting
-
Keep leaves out of water.
-
Trim affected parts and monitor cutting health.
-
-
Algae Growth
-
Use opaque jars or lightly tint the water with paper to reduce sunlight exposure.
-
Change water regularly.
-
Pro Tip: Healthy root development is a slow process—consistency is more important than speed.
Seasonal and Environmental Tips
-
Spring/Summer: Warmth and longer daylight accelerate root growth. Ideal for herbs, pothos, and flowering vines.
-
Fall: Less sunlight can slow propagation. Use grow lights indoors to maintain progress.
-
Winter: Keep cuttings in a bright spot near a window; consider using a gentle heat mat for tropical plants.
Humidity Matters: Higher humidity encourages root development. A small humidifier nearby or grouping cuttings together can help.
Creative Propagation Ideas
-
Propagation Stations: Dedicate a windowsill or shelf for jars of water-propagated cuttings.
-
Floating Plants: Small glass bowls with multiple cuttings create a visually appealing water garden.
-
Hanging Jars: Suspended containers save space and add charm to your home.
-
Layered Arrangements: Combine different plants like pothos, ivy, and coleus in a single jar for a mini indoor jungle.
Pro Tip: Adding colored marbles or pebbles gives stability and visual appeal without harming roots.
My Personal Experience
I started propagating philodendrons and pothos in water a few years ago. Here’s what I learned:
-
Roots grow surprisingly fast—pothos often roots in under two weeks.
-
Watching roots develop is addictive and rewarding.
-
Herbs like mint and basil can grow in water long-term and provide fresh leaves for cooking.
-
Transplanting to soil requires gentle care; sudden exposure to dry soil can shock the cutting.
Water propagation has saved money, reduced waste, and made my indoor garden flourish.
Final Thoughts
Propagating plants in water is easy, fun, and extremely satisfying. By following these 5 simple steps—selecting a healthy cutting, preparing it properly, placing it in water, maintaining it, and transferring it to soil—you can:
-
Multiply your favorite plants
-
Beautify your home with clear jars of growing roots
-
Create a cost-effective indoor jungle
-
Reduce plant waste and share new plants with friends
From pothos to monstera, spider plants to mint, water propagation allows you to watch the magic of growth happen before your eyes. With a little patience and care, you can enjoy thriving plants and beautiful indoor greenery year-round.
So grab a jar, choose a cutting, and start propagating—your indoor jungle awaits!