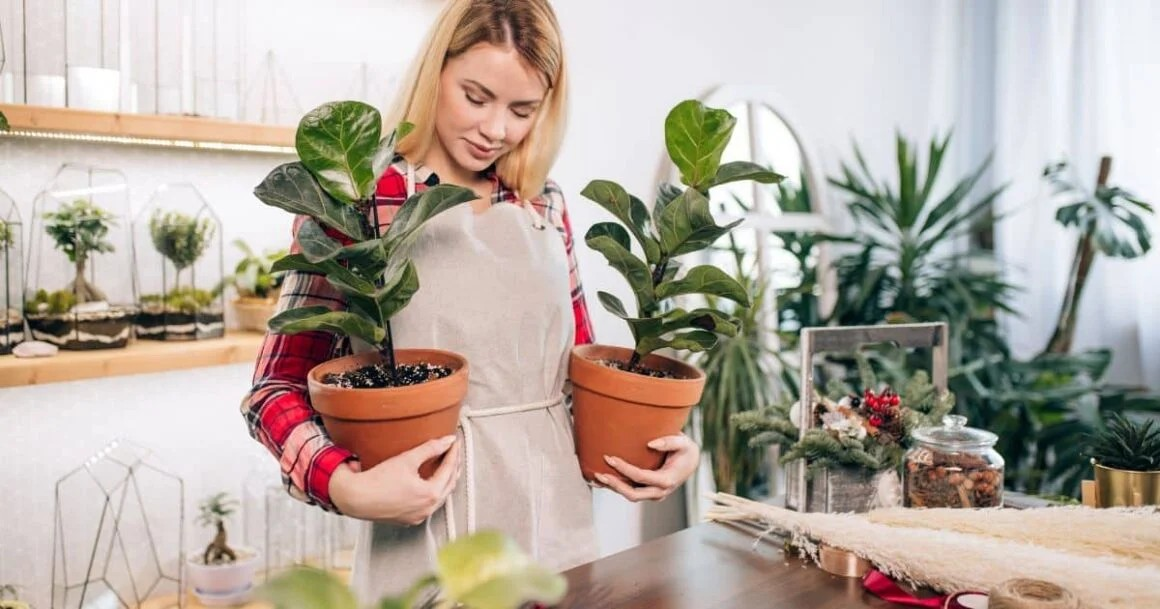
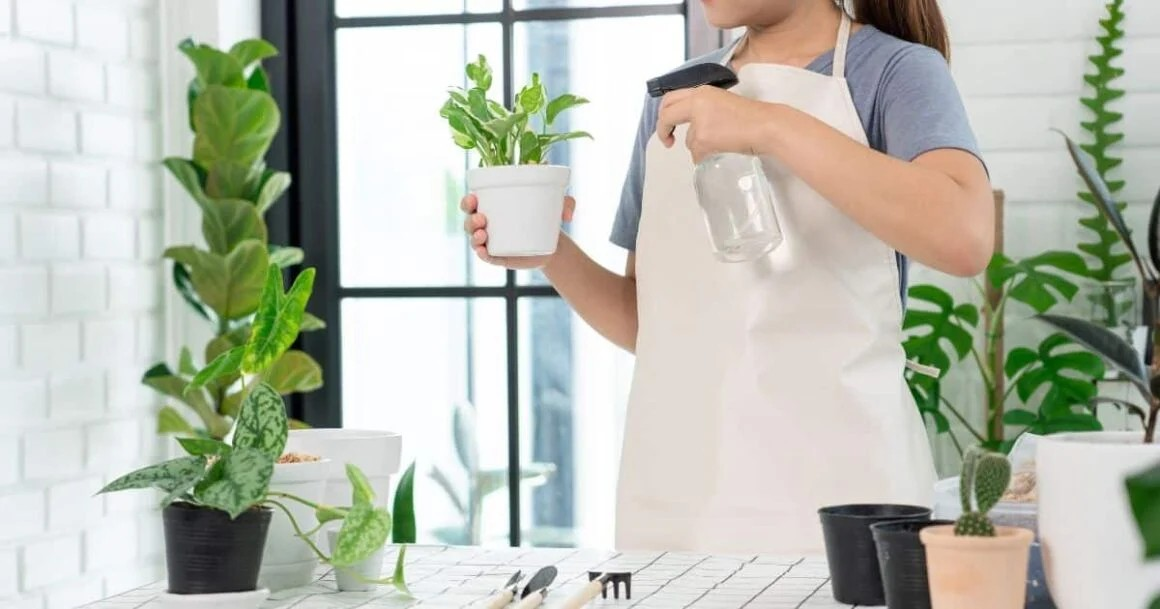
How To Use LECA Clay Pebbles For Houseplants
If you’ve spent any time in the indoor gardening world, you’ve probably heard of LECA clay pebbles. They’re small, lightweight, clay balls that have taken the houseplant community by storm. But what exactly are they, and how do you use them?
Don’t worry I’ve got you covered. This guide will walk you through everything you need to know about LECA clay pebbles: what they are, how they benefit your plants, how to set them up, and even some advanced tips for keeping your indoor jungle thriving.
What is LECA?
LECA stands for Lightweight Expanded Clay Aggregate, which is just a fancy way of saying hollow, fired clay pebbles. These pebbles are heated in a kiln, which makes them porous and lightweight. That porosity is what makes LECA so special for plants it retains water, allows air circulation, and supports roots without soil.
Essentially, LECA acts as a hydroponic medium for houseplants. You can grow your plants in just water and nutrients, or mix LECA with soil to improve drainage.
Why Use LECA Clay Pebbles?
LECA isn’t just a trend it has real benefits for your plants:
1. Better Aeration for Roots
Soil can compact over time, restricting airflow to roots. LECA keeps roots aerated, which reduces the risk of root rot and encourages strong growth.
2. Water Control Without Overwatering
LECA acts like a sponge. It soaks up water and slowly releases it to roots, preventing overwatering a common problem for indoor gardeners.
3. Cleaner and Less Messy
Since there’s no soil involved, LECA reduces mess. No dirt spilling on your floors or windowsills! It’s perfect for urban apartments or minimalist homes.
4. Fewer Pests
Soil can attract fungus gnats, mites, or mold. LECA doesn’t provide the same environment for pests, making it a healthier option for indoor plants.
5. Versatile for Different Systems
LECA works for semi-hydroponics, hydroponics, and soil mixes. You can use it to grow a wide range of indoor plants, from pothos to orchids.
Which Houseplants Thrive in LECA?
Not all plants love LECA, but many indoor favorites thrive in it:
-
Pothos – One of the easiest plants for LECA.
-
Philodendron – Thrives with aerated roots.
-
Monstera deliciosa – Performs well in semi-hydroponics.
-
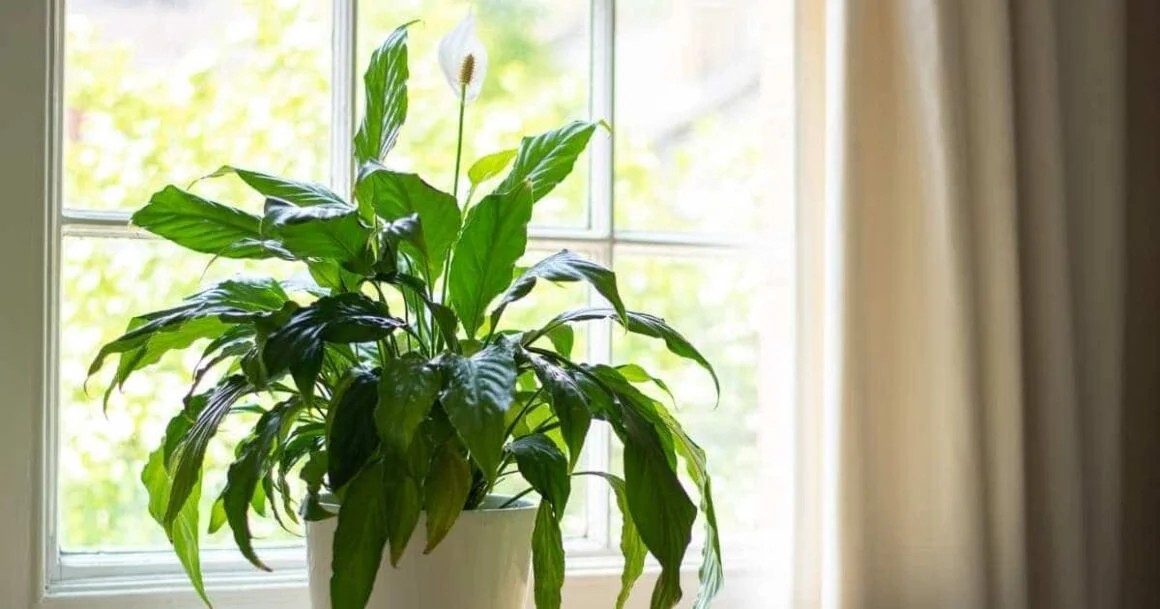
Peace Lily – Loves the constant moisture available in LECA.
-
Orchids – Especially Phalaenopsis, which prefer well-aerated roots.
-
Spider Plant – Can grow in LECA with water trays.
-
ZZ Plant – Tolerates LECA, but don’t keep submerged constantly.
Pro Tip: Most tropical plants with thick stems and aerial roots adapt well to LECA. Succulents and cacti generally don’t need it, since they prefer soil that dries out quickly.
Step 1: Preparing Your LECA
Before adding LECA to your plants, you need to clean and soak the pebbles.
Cleaning
-
Rinse the pebbles under running water to remove dust and debris.
-
Optionally, soak them in hot water for 10–15 minutes to sterilize and remove any leftover clay dust.
Soaking
-
Soak LECA in water overnight (or at least 4–6 hours).
-
This fills the pores with water and prevents the pebbles from absorbing all the water from your plant immediately.
Pro Tip: Some plant parents like to soak LECA in a diluted nutrient solution before planting. This jump-starts plant growth in semi-hydroponic setups.
Step 2: Choosing a Container
LECA works well in almost any container that holds water, but there are a few things to keep in mind:
-
Drainage: If using LECA as a soil top layer, use a pot with drainage holes.
-
Water Level: For semi-hydroponics, choose a pot where the water level sits just below the bottom of the plant roots, allowing them to absorb water gradually.
-
Transparency: Transparent containers are optional, but great for monitoring water levels and root growth.
Pro Tip: Double-potting works wonderfully: place your LECA-filled inner pot in a decorative outer pot to keep your space looking clean and stylish.
Step 3: Planting in LECA
There are a few ways to get your plant started in LECA:
Method 1: Semi-Hydroponics (LECA Only)
-
Remove your plant from soil and gently wash off all dirt from the roots.
-
Place the roots in a container filled with soaked LECA.
-
Add water to just below the root base, allowing roots to grow downwards gradually.
-
Optional: Add a diluted hydroponic nutrient solution to the water.
Method 2: Soil Top Layer
-
Plant your plant in soil as usual.
-
Add a 2–3 inch top layer of LECA over the soil.
-
Water normally.
-
Benefits: Prevents soil splash, improves drainage, reduces pests.
Method 3: Full Hydroponic System
-
Use a LECA-based reservoir system (like a hydroponic kit).
-
Place plant roots directly into the reservoir with nutrient solution.
-
Benefits: Maximum water and nutrient control, ideal for advanced indoor gardeners.
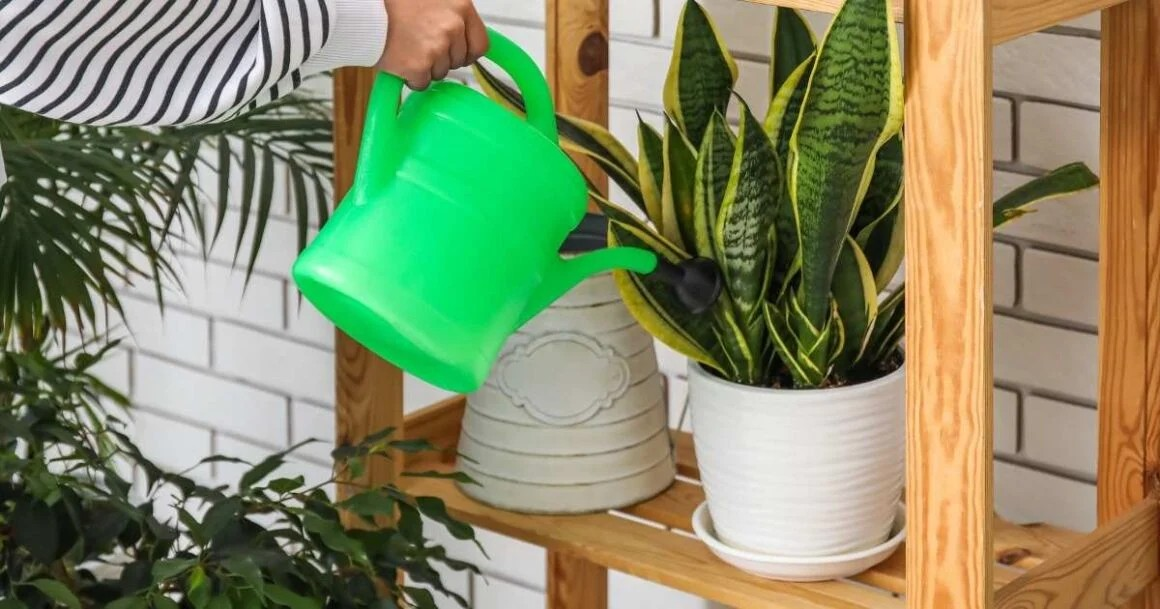
Step 4: Watering and Nutrients
Watering in LECA is different from soil, so here’s how to get it right:
Watering Tips
-
Keep water just below the roots in semi-hydro setups.
-
Refill when LECA feels dry at the top.
-
Avoid constantly submerging roots unless using a true hydroponic system.
Nutrients
-
LECA does not provide nutrients like soil, so plants need a hydroponic fertilizer.
-
Use a diluted, water-soluble fertilizer every 2–4 weeks depending on plant needs.
-
Monitor leaves for signs of nutrient deficiency (yellowing or pale leaves) and adjust fertilizer accordingly.
Pro Tip: Many plant parents use orchid fertilizer for LECA because it’s gentle and soluble, perfect for semi-hydro setups.
Step 5: Monitoring Root Health
One of the biggest benefits of LECA is the ability to see roots clearly. Here’s what to watch for:
-
Healthy roots: White, firm, and branching.
-
Unhealthy roots: Brown, slimy, or mushy (sign of overwatering or rot).
Tips for root health:
-
Avoid overfilling water reservoirs.
-
Change water every 2–3 weeks in semi-hydro setups.
-
Rinse LECA pebbles occasionally to prevent mineral buildup.
Common Problems and Solutions
Even with LECA, problems can arise. Here’s how to troubleshoot:
1. Brown or Mushy Roots
-
Likely caused by overwatering.
-
Solution: Lower water level, remove damaged roots, rinse LECA.
2. White Mineral Buildup
-
Caused by hard water or fertilizer salts.
-
Solution: Rinse LECA thoroughly and occasionally replace water with distilled or filtered water.
3. Leaves Turning Yellow
-
Could be a nutrient deficiency.
-
Solution: Fertilize with a hydroponic solution and ensure roots have adequate access to water.
4. Algae Growth
-
Happens if water and LECA are exposed to too much light.
-
Solution: Cover the top with decorative pebbles or opaque layer, and change water regularly.
Seasonal Adjustments for LECA
Indoor plants’ water and nutrient needs change throughout the year.
Spring & Summer
-
Plants grow actively, so fertilize more often.
-
Water slightly more frequently, especially if roots are actively growing.
Fall
-
Growth slows, so fertilizer can be reduced.
-
Monitor water evaporation rates and adjust watering frequency.
Winter
-
Plants require less water; keep reservoir levels lower.
-
Be mindful of indoor heating, which can dry out LECA more quickly.
Creative Ways to Use LECA
LECA isn’t just functional it can be a beautiful part of your indoor décor.
-
Top Layer Decoration: Use LECA as a top layer in soil pots for a clean, modern look.
-
Transparent Jars: Place plants in glass containers with LECA to showcase roots and water levels.
-
Layered Planters: Combine LECA with moss, soil, or decorative stones for texture.
-
Propagation: Use LECA to propagate cuttings in water roots thrive and grow visibly.
Pro Tip: LECA looks amazing in minimalist or modern spaces, giving plants a floating, airy appearance.
My Personal Experience with LECA
When I switched my pothos and philodendrons to LECA, I noticed immediate benefits:
-
Roots grew faster and healthier than in soil.
-
Watering became simpler no more worrying about overwatering.
-
My plants looked cleaner and more decorative on my shelves.
-
Propagating cuttings in LECA was almost foolproof, with visible roots forming within a week.
The biggest learning? Patience and observation are key. LECA makes plant care cleaner, but monitoring water levels, roots, and nutrients is essential for thriving plants.
LECA clay pebbles are a game-changer for indoor plants, offering:
-
Improved aeration
-
Better water control
-
Cleaner and less messy plant setups
-
Fewer pests
-
Versatility for soil, semi-hydro, or hydroponic systems
Whether you’re a beginner or an advanced plant parent, LECA makes caring for houseplants easier, cleaner, and more enjoyable. By understanding how to prepare, plant, water, and monitor your LECA system, you can enjoy healthy, thriving indoor plants year-round.
If you haven’t tried LECA yet, give it a shot you might be surprised at how much it transforms your indoor garden. Trust me: once your roots start thriving in those little clay pebbles, you’ll never look at soil the same way again.
How to Use LECA Clay Pebbles for Houseplants
LECA clay pebbles have quickly become a favorite among indoor plant enthusiasts, and for good reason. These small, porous clay balls are lightweight, versatile, and incredibly effective at promoting healthy root systems. If you’re ready to take your indoor gardening to the next level, LECA is the perfect tool.
In this expanded guide, we’ll cover:
-
Advanced LECA setup for different plant types
-
Propagation in LECA
-
Seasonal adjustments and care
-
Common mistakes and troubleshooting
-
Creative décor ideas
-
Expert tips for maximizing plant health
By the end, you’ll be confident using LECA for just about any houseplant, from beginner-friendly pothos to dramatic fiddle leaf figs.
Why LECA is a Game-Changer for Indoor Plants
LECA stands for Lightweight Expanded Clay Aggregate. Essentially, they are tiny, fired clay balls with hollow interiors that absorb and slowly release water. Their unique properties make them ideal for indoor gardening.
Here’s why LECA is becoming a must-have:
-
Prevents Overwatering – The pebbles act like a sponge, holding water at the root zone without drowning the plant.
-
Improves Aeration – Roots stay healthy because LECA promotes airflow around them.
-
Reduces Soil Pests – Fungus gnats and mold struggles are less common with LECA.
-
Cleaner Indoor Gardening – No messy soil spilling over your floor or windowsill.
-
Versatility – Works for hydroponics, semi-hydro setups, or as a soil additive.
Step 1: Preparing LECA for Your Plants
Before adding LECA to your plant pots, preparation is key. Raw LECA contains dust and may absorb too much water if not pre-soaked.
Cleaning and Soaking LECA:
-
Rinse the clay pebbles thoroughly under running water to remove clay dust.
-
Soak overnight in clean water. This fills the hollow centers and prevents LECA from absorbing all water from your plant immediately.
-
Optional Sterilization: For a cleaner start, soak in hot water or a mild hydrogen peroxide solution to remove any pathogens.
Pro Tip: Some plant parents pre-soak LECA in a diluted nutrient solution. This jump-starts root growth, especially for plants transitioning from soil.
Step 2: Choosing the Right Container
The container you use with LECA depends on the type of plant and method:
-
Semi-Hydroponics: Choose a pot that can hold water in a reservoir below the LECA, just beneath the roots.
-
Soil-LECA Mix: Use a standard pot with drainage holes. LECA can sit on top as a decorative layer or mixed into soil for better aeration.
-
Hydroponic Systems: Use deep containers or clear jars for easy water level monitoring.
Pro Tip: Transparent pots or jars are helpful for beginners they let you monitor root growth and water levels without guesswork.
Step 3: Planting in LECA
Method 1: Semi-Hydroponics (LECA Only)
-
Remove your plant from soil, and gently rinse roots to remove all dirt.
-
Place roots into a container filled with pre-soaked LECA.
-
Add water to just below the root base to encourage roots to grow downward.
-
Optional: Add a diluted hydroponic nutrient solution to the water for faster growth.
Plants that thrive: Pothos, Philodendron, Spider Plant, Peace Lily, ZZ Plant
Method 2: Soil Top Layer
-
Plant in soil as usual.
-
Add a 2–3 inch top layer of LECA.
-
Water as normal.
Benefits: Reduces soil splash, improves drainage, and prevents pests like gnats.
Method 3: Full Hydroponics
-
Use a hydroponic system with nutrient solution.
-
Place plant roots directly into the solution, surrounded by LECA for support.
Benefits: Maximum control over water and nutrients, ideal for advanced plant parents.
Step 4: Watering and Nutrients
Watering and feeding in LECA are different than soil.
Watering Tips:
-
Semi-hydroponic plants need water just below the roots.
-
Keep the reservoir level consistent, and refill when dry.
-
Avoid fully submerging roots unless in a hydroponic setup.
Nutrients:
-
LECA does not provide nutrients, so plants need liquid fertilizer.
-
Use a water-soluble hydroponic fertilizer every 2–4 weeks.
-
Monitor for signs of nutrient deficiency: yellowing leaves, pale growth, or stunted development.
Pro Tip: Orchid fertilizer works well for LECA because it’s gentle and fully water-soluble.
Step 5: Monitoring Root Health
One of the biggest advantages of LECA is the ability to monitor root growth. Healthy roots are firm and white, while brown, mushy roots signal overwatering or rot.
Tips for healthy roots:
-
Avoid waterlogged LECA.
-
Rinse pebbles occasionally to remove mineral buildup.
-
Remove any damaged roots promptly to encourage new growth.
Advanced LECA Techniques
1. Transitioning Plants from Soil to LECA
Transitioning plants from soil to LECA can be stressful. Follow these steps:
-
Gently wash all soil off the roots.
-
Trim damaged roots to encourage new growth.
-
Place the plant in semi-hydro setup with water just below the roots for the first 1–2 weeks.
-
Gradually add diluted nutrient solution once roots start growing.
2. Propagation in LECA
LECA is perfect for propagating cuttings:
-
Place cuttings with at least one node into soaked LECA.
-
Add a little water to reach just below the node.
-
Roots often appear within 1–2 weeks, faster than soil propagation.
Pro Tip: Use a clear container to watch roots develop it’s incredibly satisfying.
3. LECA and Orchids
Orchids love LECA because:
-
It keeps roots aerated.
-
Provides stability without waterlogging.
-
Works well in transparent containers to monitor water levels.
Care Tip: Mist orchid roots occasionally if your indoor air is dry.
Seasonal Adjustments for LECA Plants
Indoor plants’ water and nutrient needs vary by season:
Spring & Summer
-
Fertilize more often; plants grow actively.
-
Water slightly more due to warmer temperatures.
-
Inspect for new roots and adjust water level as roots expand.
Fall
-
Slow growth; reduce fertilizer.
-
Adjust watering as evaporation decreases.
-
Prune older leaves to encourage fresh growth.
Winter
-
Dormant plants need less water and fertilizer.
-
Keep LECA-filled pots away from cold drafts or heating vents.
-
Consider using a grow light if natural light is limited.
Common Problems and Solutions
Even with LECA, you may encounter issues. Here’s a guide:
-
Mushy Roots
-
Cause: Overwatering.
-
Solution: Lower water level, remove damaged roots, rinse LECA.
-
-
White Mineral Buildup
-
Cause: Hard water or fertilizers.
-
Solution: Rinse LECA, use filtered or distilled water, change water regularly.
-
-
Yellow Leaves
-
Cause: Nutrient deficiency.
-
Solution: Fertilize with hydroponic solution and monitor roots.
-
-
Algae Growth
-
Cause: Too much light on water surface.
-
Solution: Cover top with LECA layer or opaque decorative stones, change water regularly.
-
-
Leaf Drop
-
Cause: Shock from transition or temperature fluctuations.
-
Solution: Maintain stable water levels, protect from drafts, and be patient—plants often recover in weeks.
-
Creative Ways to Use LECA
LECA isn’t just functional it’s beautiful
-
Top Layer Decoration: Use as a clean, modern top layer for soil pots.
-
Transparent Containers: Showcase roots and water levels in glass jars.
-
Layered Planters: Combine LECA with moss or decorative stones.
-
Propagation Station: Use LECA trays to root multiple cuttings.
-
Floating Plants: Small LECA-filled jars can float cuttings in water for decorative displays.
Pro Tip: Pair LECA with decorative pots or glass containers for a minimalist, modern look. It’s perfect for shelves, desks, or windowsills.
Plant-Specific LECA Tips
Pothos & Philodendron
-
Ideal for semi-hydro setups.
-
Roots grow quickly in LECA; water should reach just below root zone.
-
Fertilize lightly every 2–3 weeks for active growth.
Monstera Deliciosa
-
Thrives in LECA with semi-hydroponics.
-
Use a deep pot to accommodate large root systems.
-
Monitor water levels carefully overwatering can lead to root rot.
Orchids
-
LECA provides excellent aeration.
-
Mist roots occasionally.
-
Fertilize with orchid-specific fertilizer every 2–3 weeks during growth.
Spider Plants
-
Can grow in LECA with water trays.
-
Babies propagate easily in this medium.
ZZ Plant
-
Adaptable but don’t keep constantly submerged.
-
Water sparingly, allowing LECA to dry slightly between waterings.
My Personal Experience
When I first tried LECA, I was surprised at how fast my pothos and philodendrons adapted. Root growth was visible in just a week, and water management became easier. The clean look and reduced pests made my indoor garden feel more modern and manageable.
Propagation in LECA is almost foolproof cuttings root faster than in soil, and I love watching them grow in transparent containers. Transitioning plants from soil to LECA takes patience, but the results are worth it: healthier roots, stronger growth, and a cleaner space.
Final Thoughts
LECA clay pebbles are more than just a trend they’re a practical, versatile, and decorative medium for indoor plants. Whether you’re:
-
A beginner looking to reduce soil mess
-
A plant parent interested in semi-hydroponics
-
Propagating cuttings for faster growth
-
Styling your indoor jungle beautifully
…LECA can make your plant care simpler, cleaner, and more rewarding.
Key Takeaways:
-
Pre-soak and clean LECA before use.
-
Choose the right container and water level for your plant type.
-
Fertilize regularly since LECA provides no nutrients.
-
Monitor root health and water levels carefully.
-
Experiment creatively with transparent containers, propagation stations, and décor.
Once you start using LECA, you’ll quickly see why indoor gardeners are falling in love with these clay pebbles. Healthier roots, fewer pests, and a cleaner space make it one of the smartest investments for indoor plant care.
I’ve never heard of LECA Clay pebbles before.
Great article thanks
I’ll have to try this out. My plants keep dying and I’m trying to be better
Had not heard of these before
This sounds great. Never heard of Leca Clay pebbles. Maybe I could actually grow houseplants with this!
Thank you for sharing
I have not heard of these before. I need to give them a try.
I am happy to learn that I can use LECA on my peace lilies as well!
So much to know and learn but it’s I’m glad to know because I may be able to grow something
Leca is a wonderful product to use to avoid getting fungus gnats without the soil!
Very informative piece about LECA!
In repotting, I’ve used a layer of eggshells. Kind of the same effect.
I like that LECA helps with not over watering
This is great, thanks!
I love this idea for ease in taking care of plants. I can use all the help I can get!